Beauty Product Photography: How to Take Photos That Sell

As a photographer myself, I could talk about the process of photography for days. About its storytelling aspect, or how the images you create need to reflect something about the object in them. About how the right photo creates a feeling, a vibe, and a lasting impression – imagery that sticks long before anyone makes a purchase.
When it comes to beauty, product photography is everything. It’s basically your brand's first impression, showing its values, its confidence, and its precision. When your customers look for a product on your site or social media, the first step in making that sale is getting your beauty product photos to perform well.
So how do you take that scroll-stopping photo for your social media, or that eye-catching image for your skincare dropshipping store? How do you create content that makes your customers want to stick around?
Here's how to become a beauty product photographer, even if you’re just getting started.
Table of Contents
What Is Product Photography in Beauty?

There are many types of photography. The difference between event, landscape, macro, and portrait photography is night and day. Even within beauty product photography, you wouldn’t approach skincare the same way you would shoot cosmetics photography, or functional vs. luxury product photography.
Beauty product photography is the visual storytelling of your brand. High-quality images of your product listings are how you showcase your textures, ingredients, results, and the actual product itself.
When sourcing and designing private-label products – like with Selfnamed – ready-made mockups are a good start, but they’re not unique. A lot of work goes into taking photos that resonate with audiences and build trust.
Great beauty product photography:
communicates your brand’s aesthetic;
evokes an emotion and feeling;
builds credibility and trust;
increases conversion rates;
supports your beauty product marketing efforts across digital channels.
For brands using private label cosmetics, this is especially important. Since multiple businesses might sell similar base formulations. Your own photos and visual identity is what sets you apart. Pair strong photography with well-considered skincare packaging design for a cohesive brand presence across customer touchpoints.
What You Need for Beauty Product Photography

First off, you’ll need the products in question. Whether you’re sourcing from a private label supplier or have a contract manufacturing partner, make sure all sampling or prototyping is finalized before planning your shoot.
The right equipment is key to capturing the content your business needs, regardless if you're renting or using what you already have. Just keep in mind - you don’t need a professional studio, pricey classes, or top-of-the-line gear to get started. Just the basics and a quick well-planned shoot can do wonders on a tight budget.
Minimal essentials:
Camera or phone with a good lens, depending on your goal and where the images will be displayed. Modern smartphones work well, especially for web and social content. However, I wouldn’t recommend using phone photos for print materials or high-end websites.
Tripod for stability and consistent angles across each image. It makes for more consistent framing and composition than you would get when shooting your cosmetic product photography handheld.
Lighting, of course. The best and most cost-effective lighting source is natural lighting, but it's inconsistent and relies on the time of the shoot. I would suggest bright indoor studio lighting for a more coherent and unchanging look, but it can get a bit complex. An effective artificial lighting setup needs a main light, side lights, modifiers to achieve your desired aesthetic.
Backdrops. Neutral backgrounds like white, beige, or stone textures work best. For a high-end look, consider using tiles, marble slabs, or textured papers. Depending on your brand's aesthetic, equipment, and inspiration, you can also shoot in real-life environments like bathrooms or outdoors.
Reflector or bounce board. Helps soften shadows and give an evenly lit scene.
Props. Last but not least, prepare accessories – like botanicals, varying textures, towels, or ingredients – to really send the message and showcase what your cosmetics or skincare product represents. It should align with your team, brand story, and the overall look you want to achieve.
How to Prepare a Beauty Photoshoot
Planning is everything! To make sure your skincare or makeup product photography goes smooth, set up your studio and prepare your equipment well in advance.
Let’s breakdown the steps of a photography shoot:
Step 1: Choose Products
If you're shooting multiple products, make a list so you don’t forget any. Prepare your product designs and order sample sets well in advance to keep track of what needs to appear in each setup.
Step 2: Create a Shot List
Make a list of every single type of shot you want to capture. Ideally, you’ll also note the angles, props, and setups for each. If that’s too overwhelming, skip to the next step and build your moodboard first – it can inspire your shot list.
Here are four beauty product photography shots you might want to use:
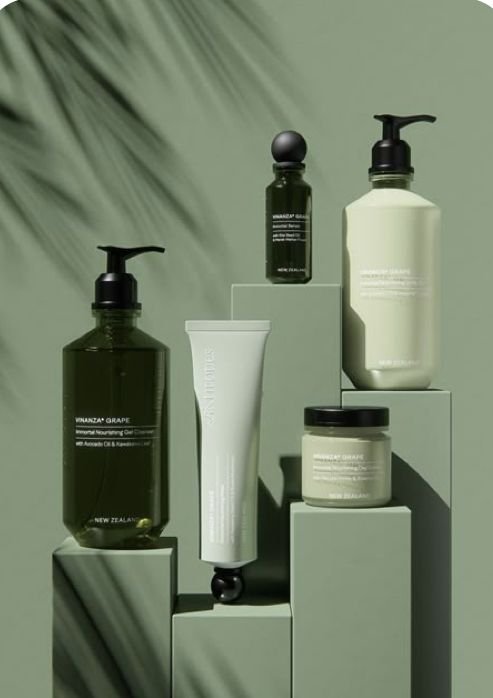
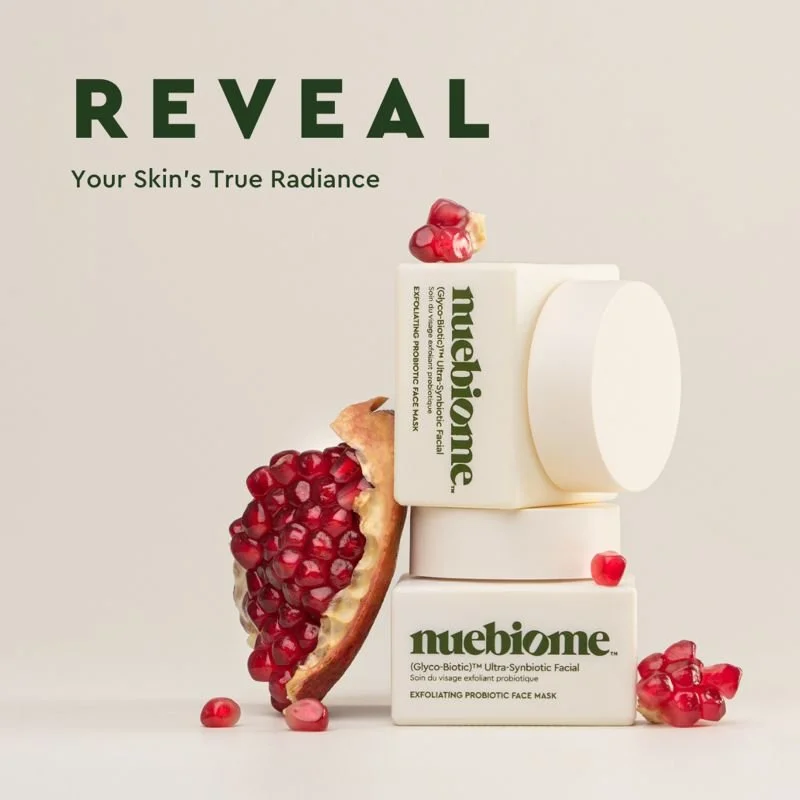
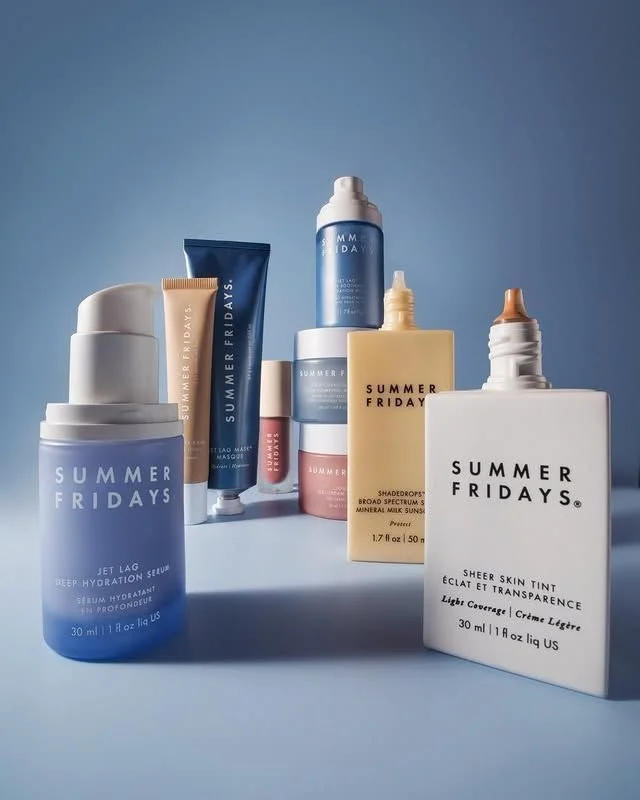
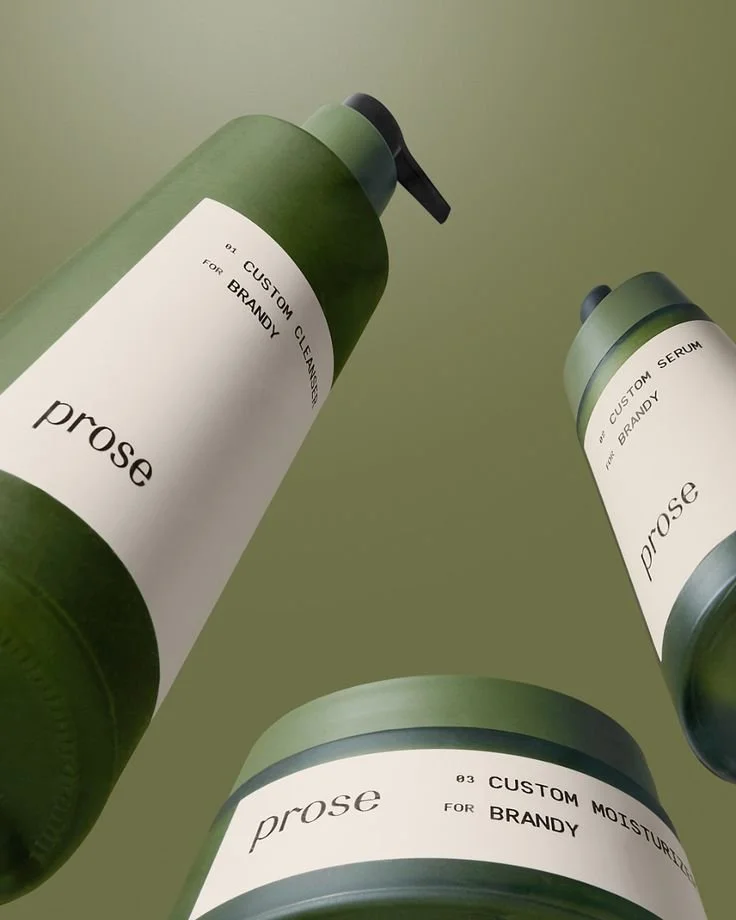
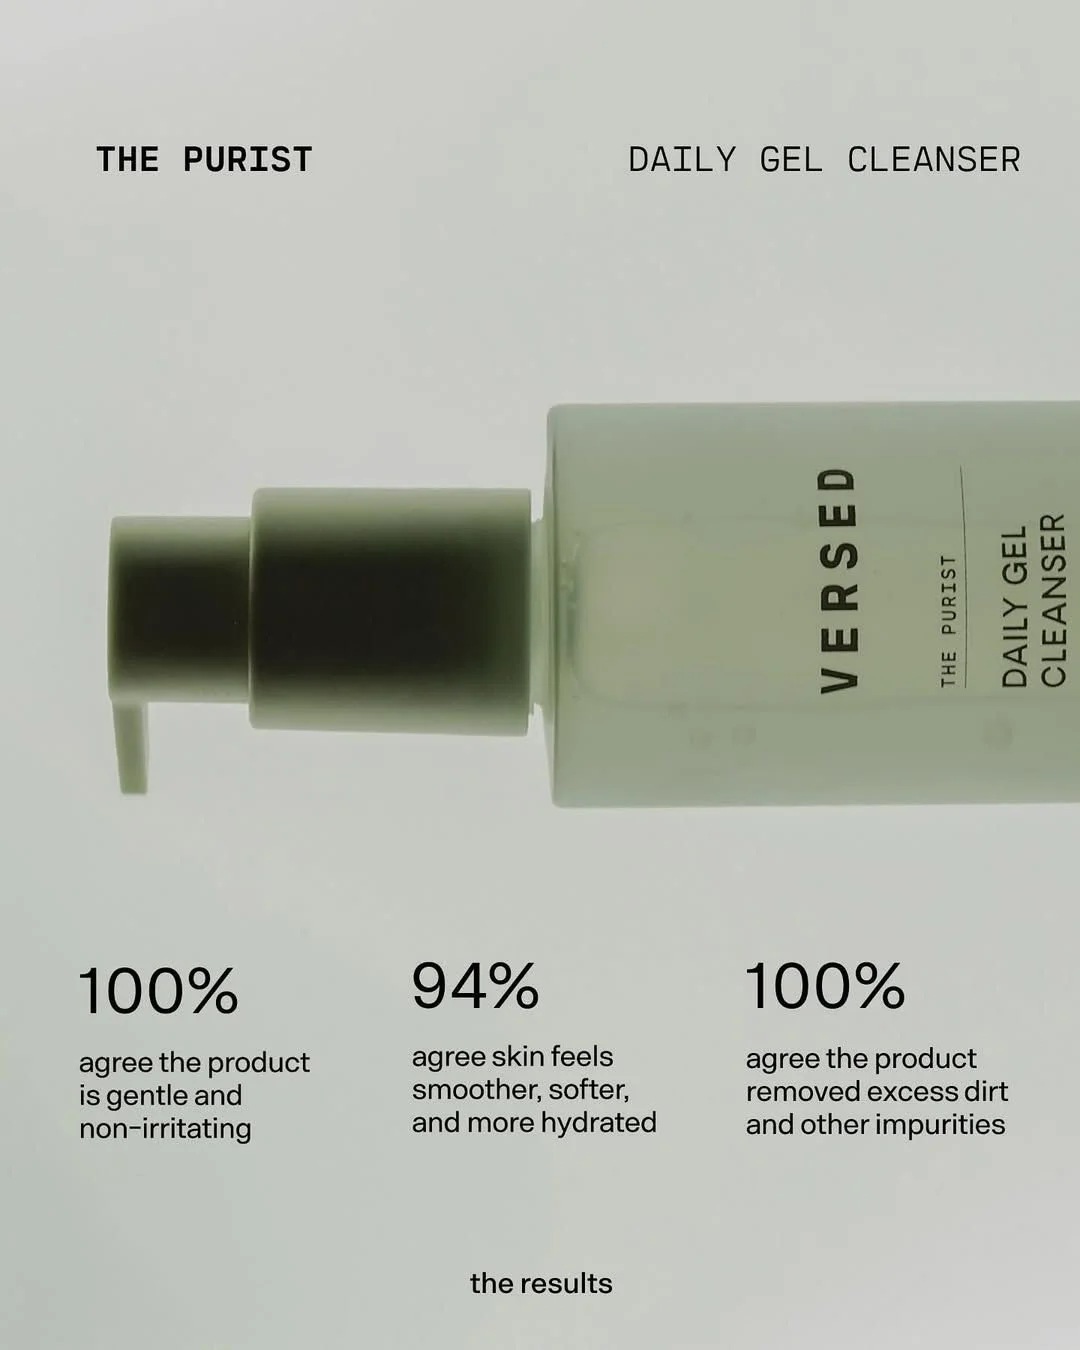
Pack shot


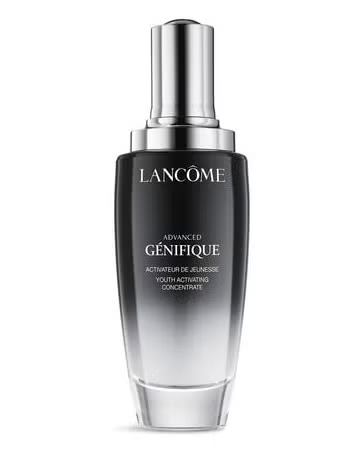


This one is plain and simple - your product on a neutral background front and center. This is the one that goes on your e-commerce website, brochures and other places where you need to showcase your product and it’s key features. Most often, a pack shot is done with a single product, but can also be extended to a group of products and bundles.
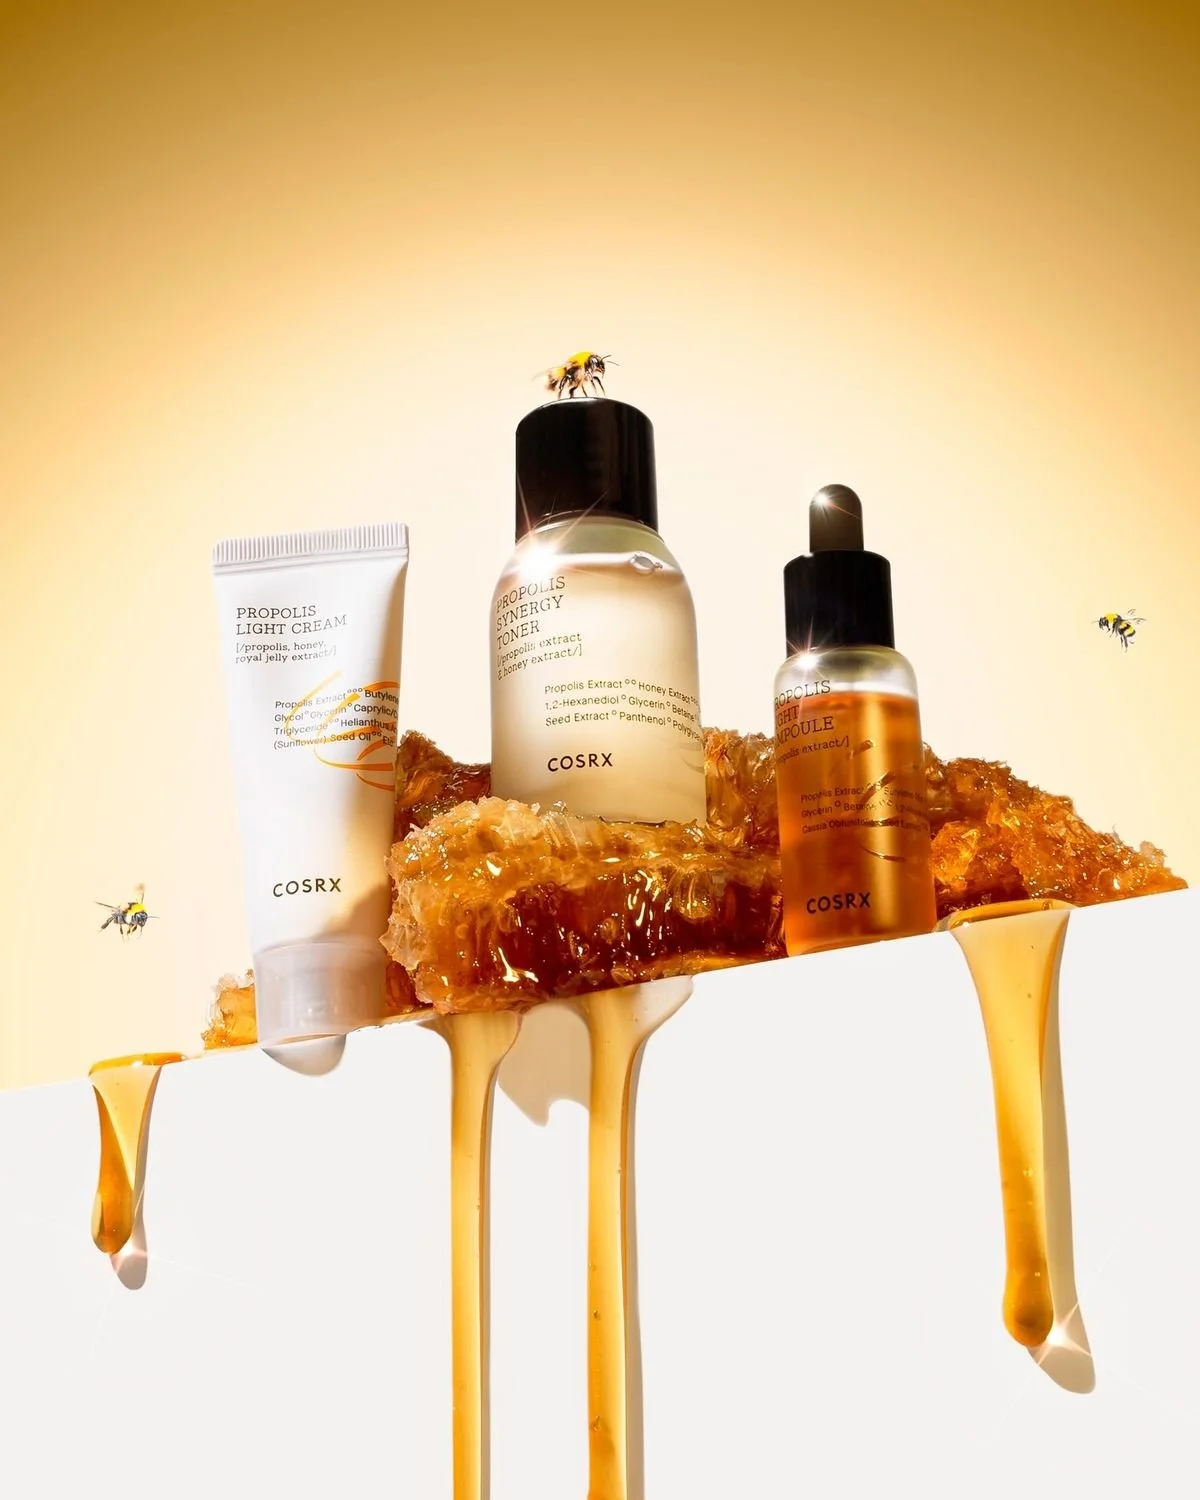
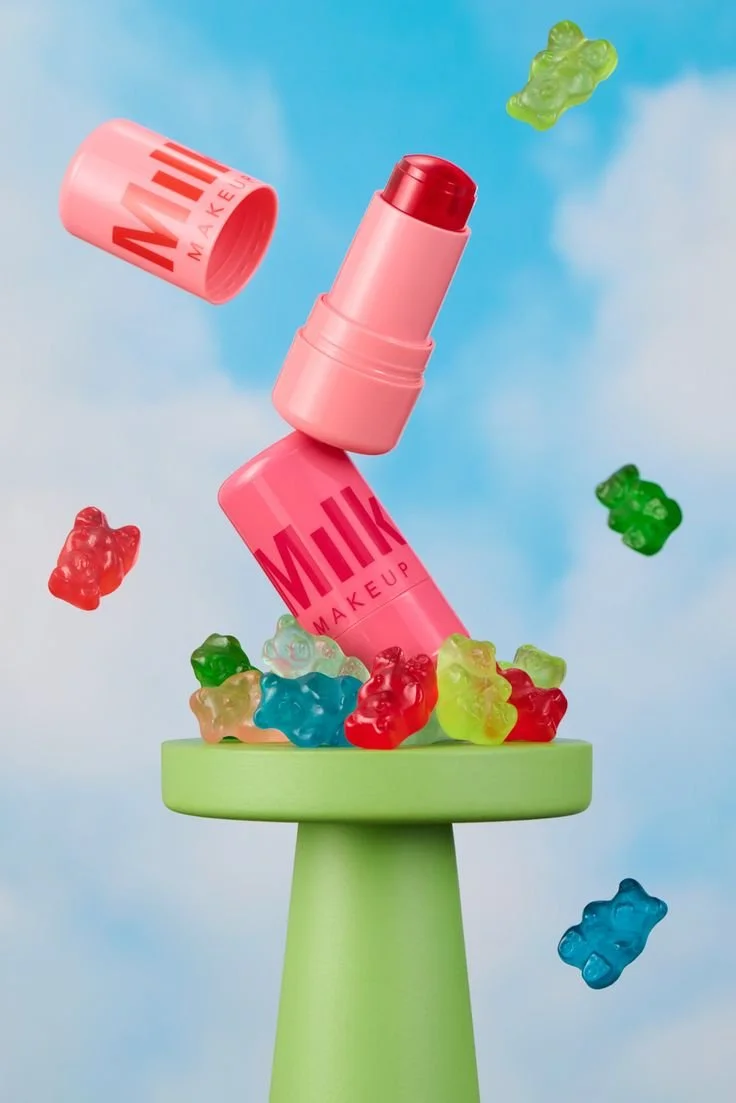
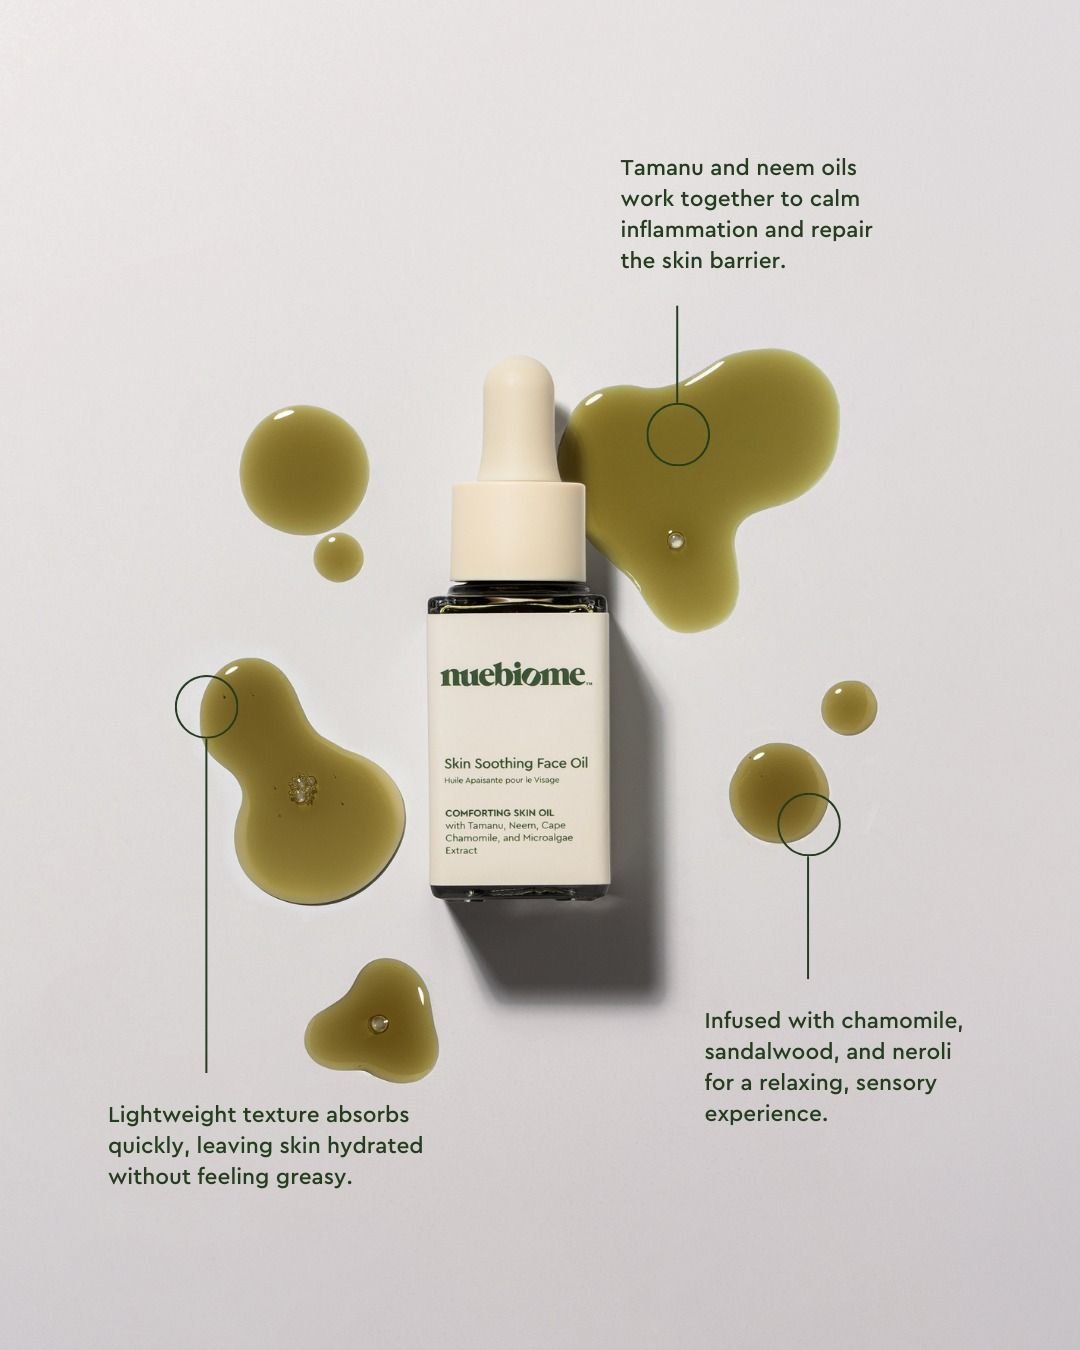
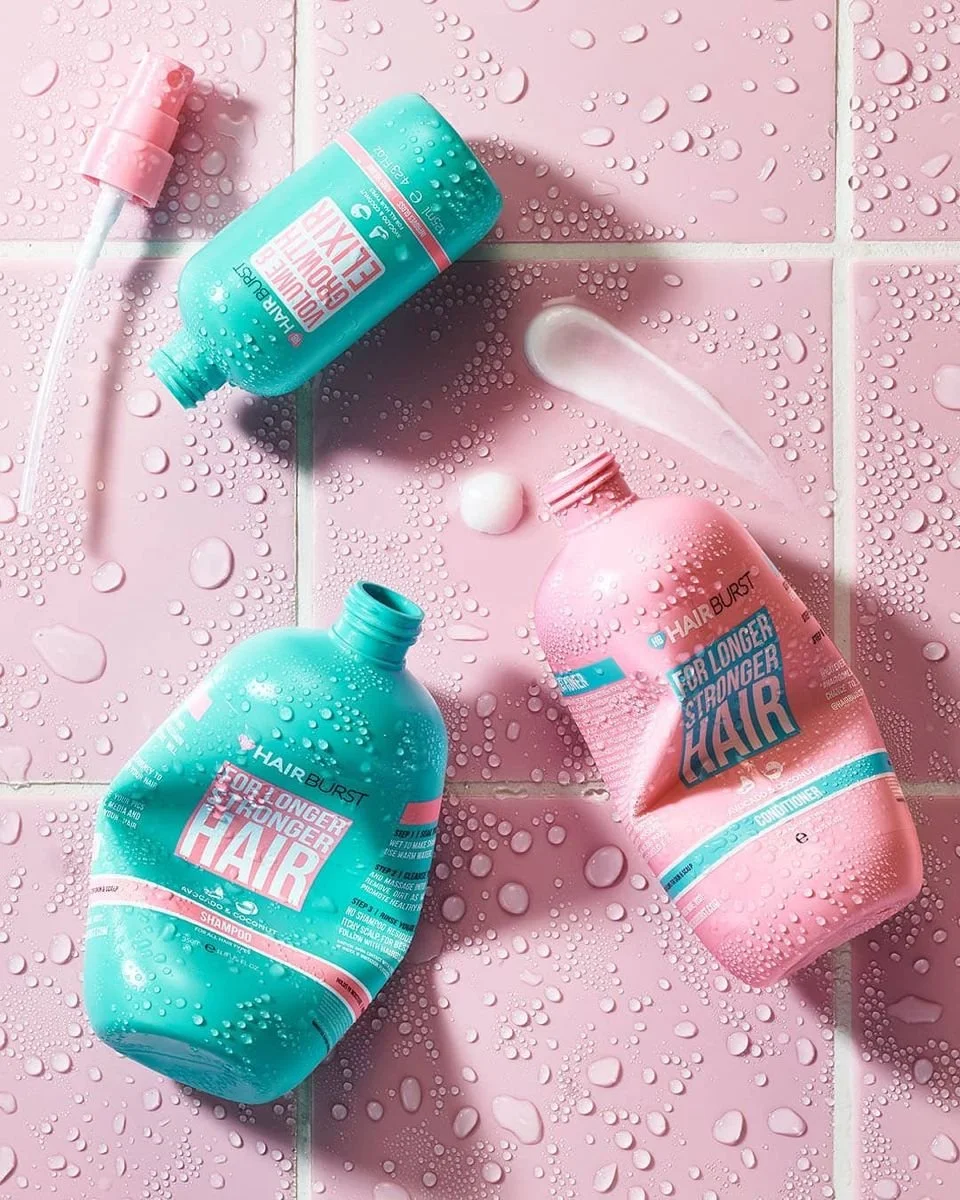
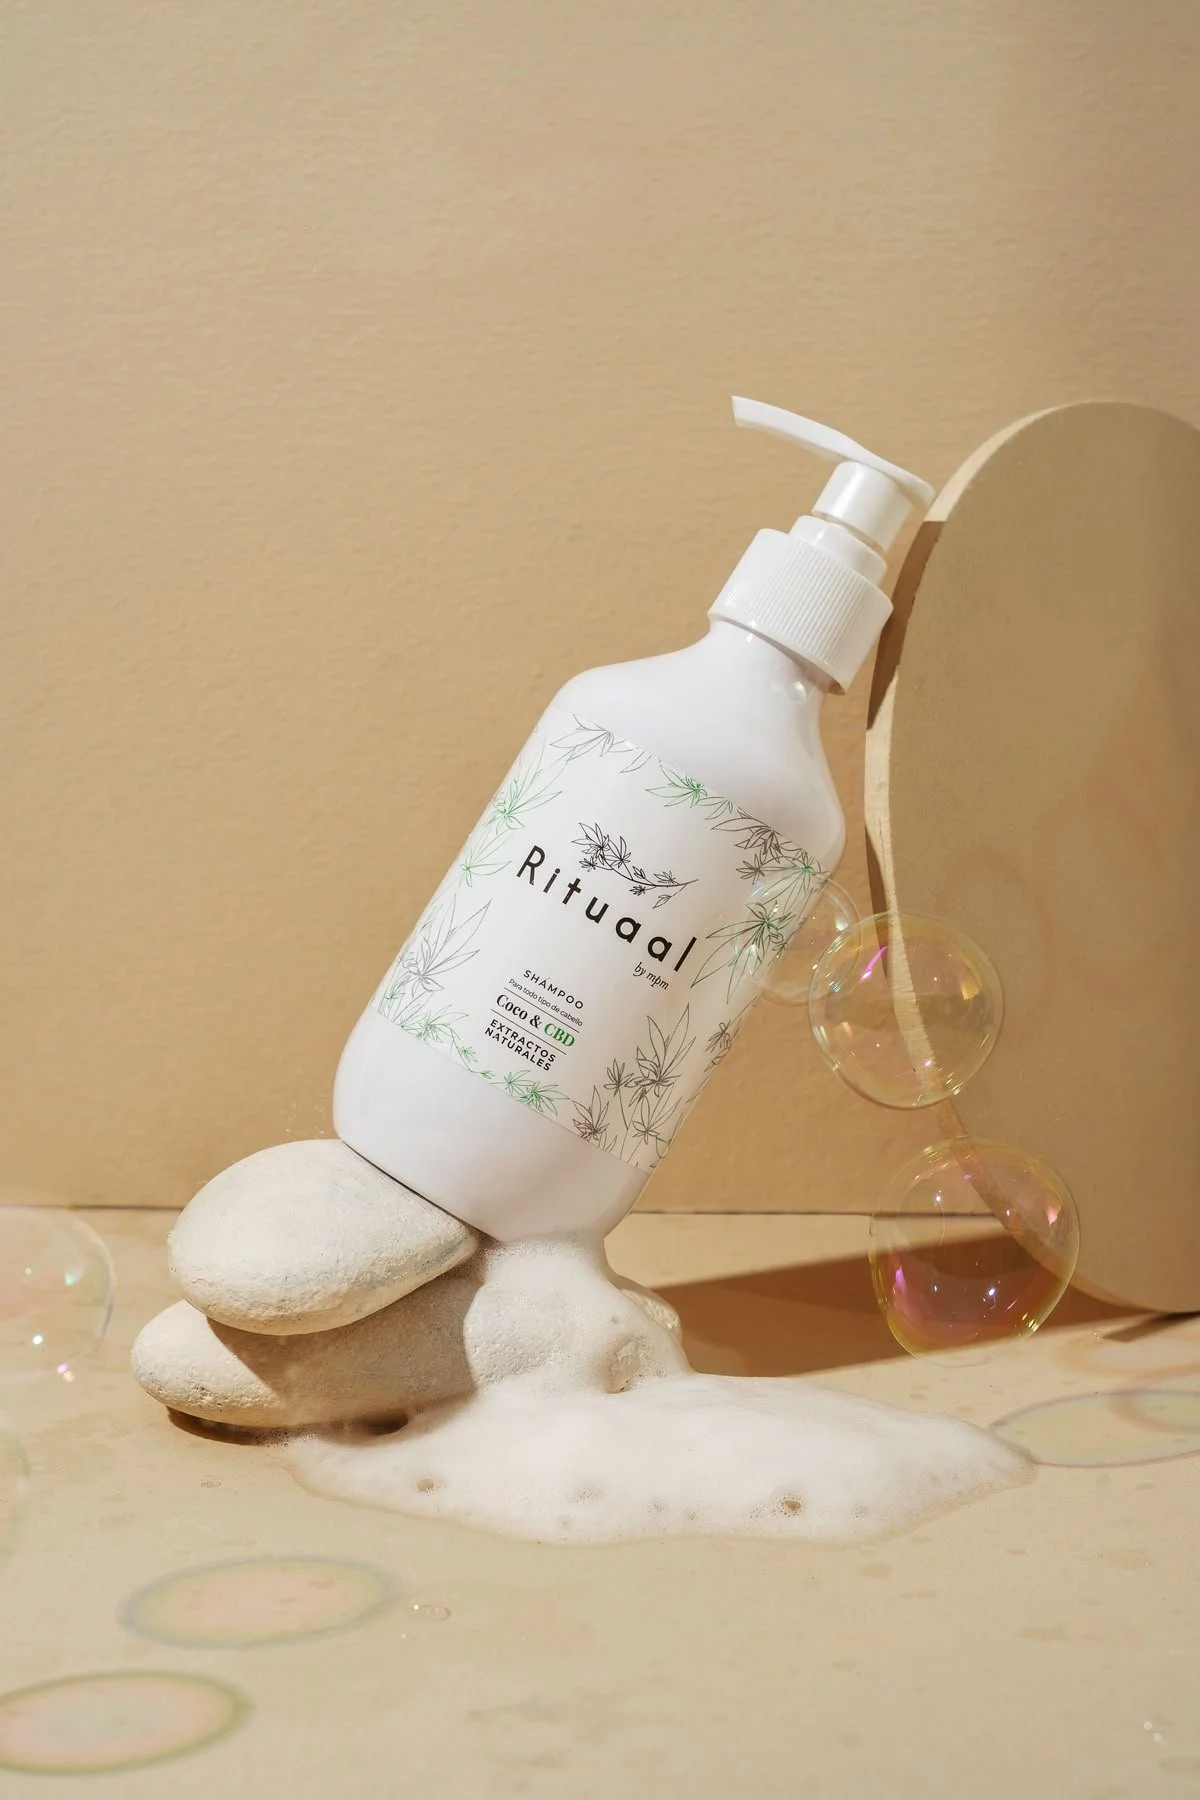
Environmental shot


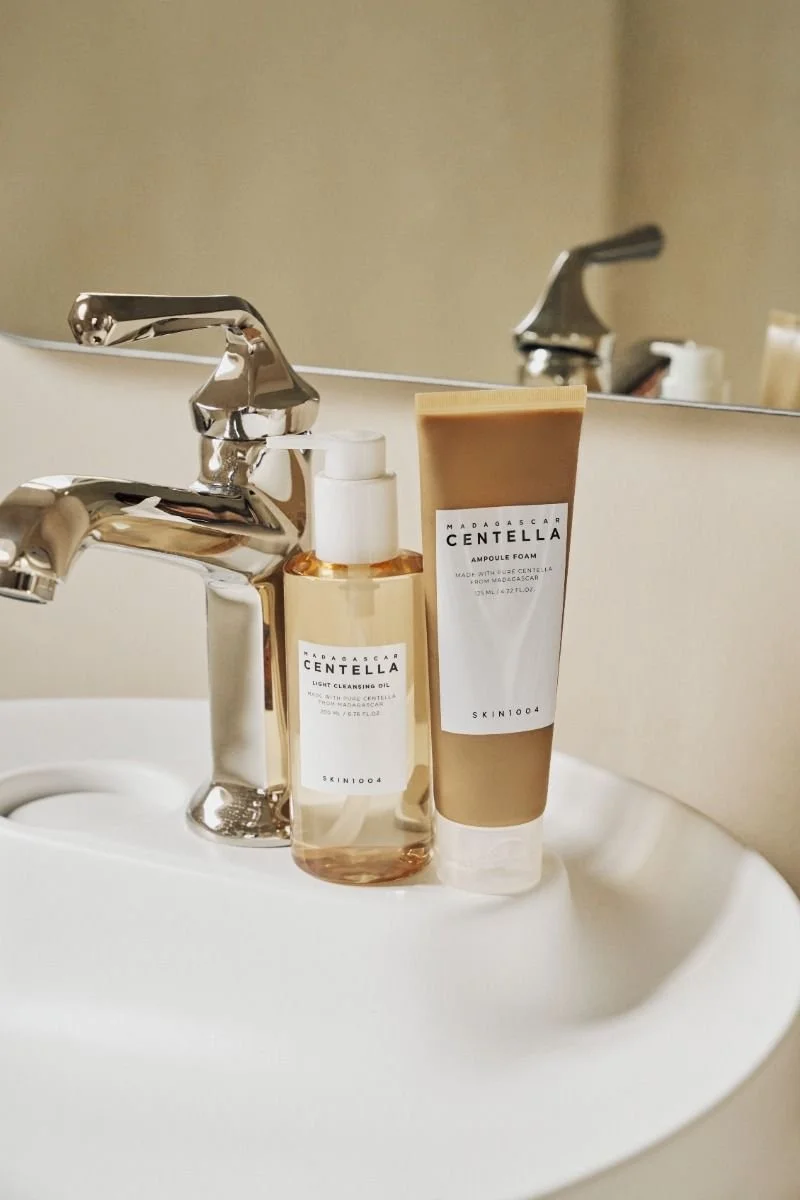


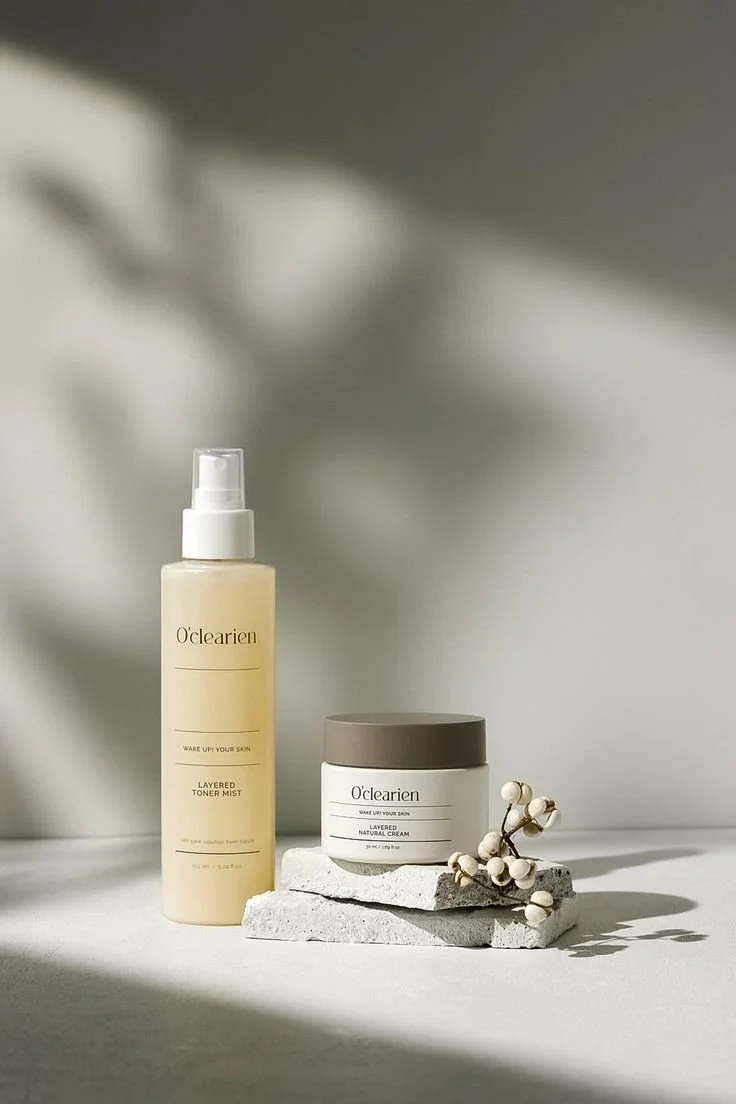
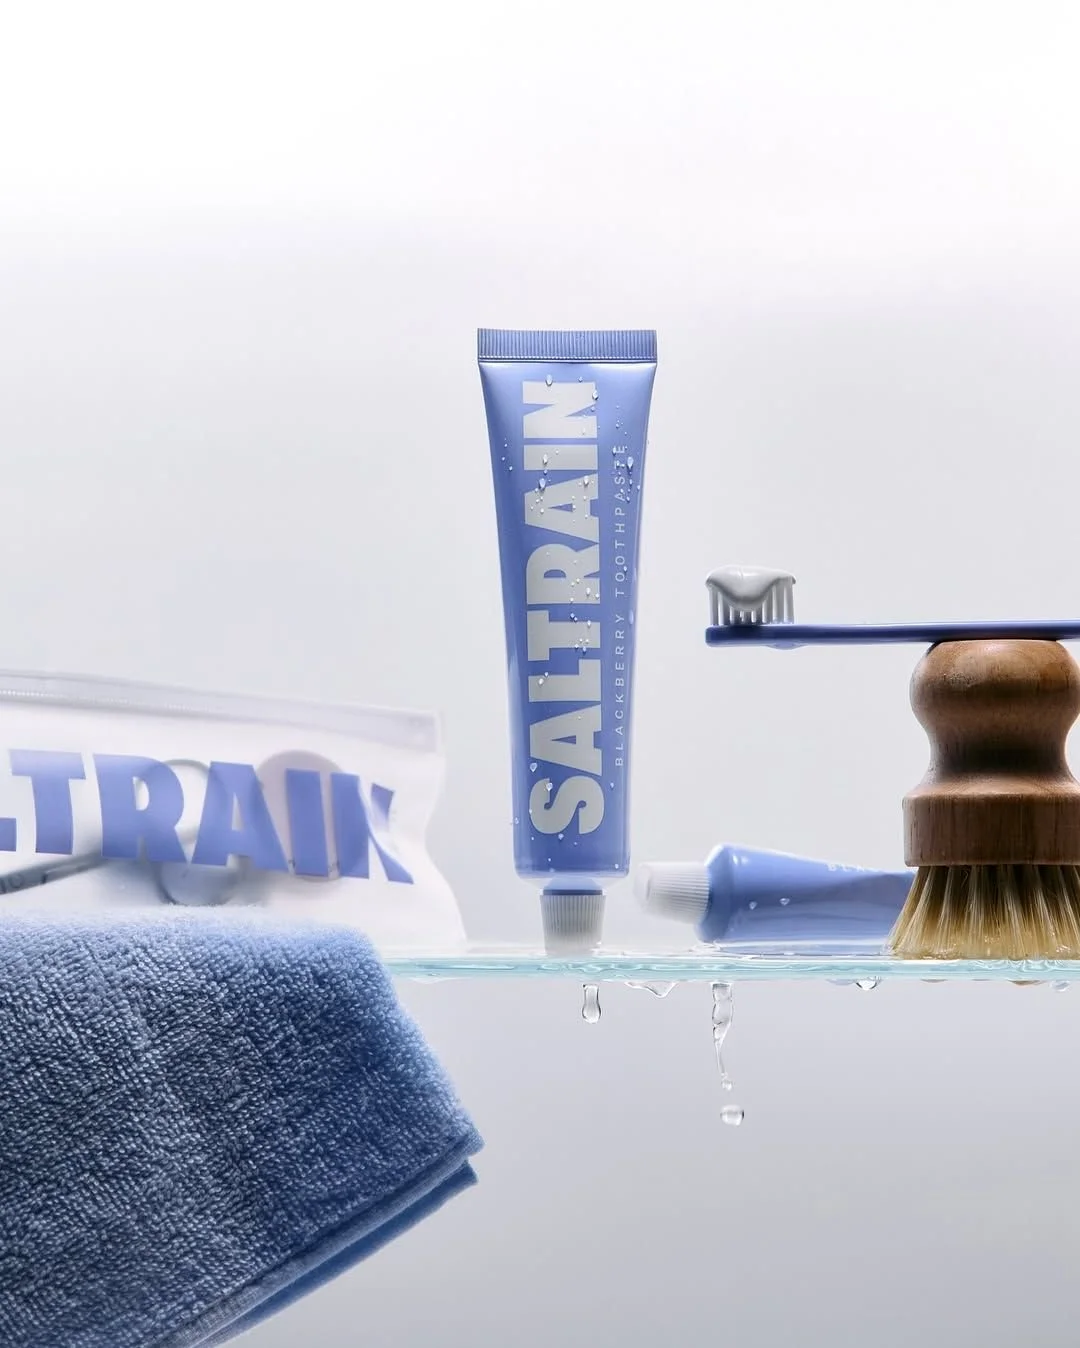

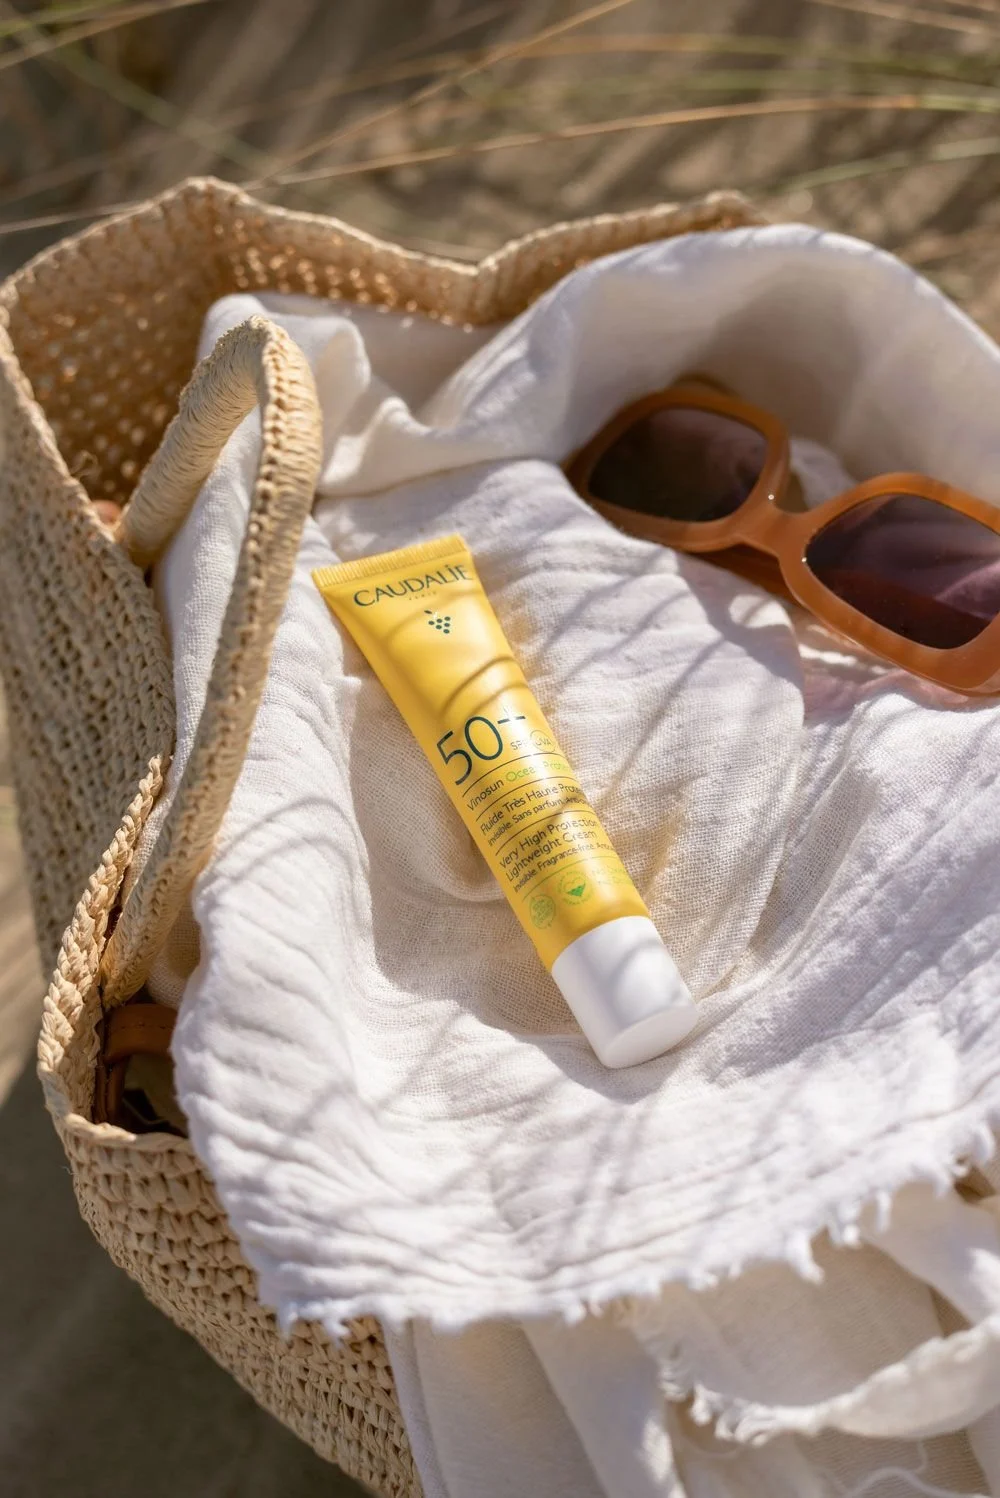
This is exactly what it sounds like - your product in a real or an abstract environment. Here the environment can be as important as the product and work to enhance it by creating visual harmony.
This type of shot helps set the scene, connect with viewers emotionally, highlight the product's size, or give a general idea of how it might look in their own space. These shots will work well as social media templates, website banners, blog articles etc.
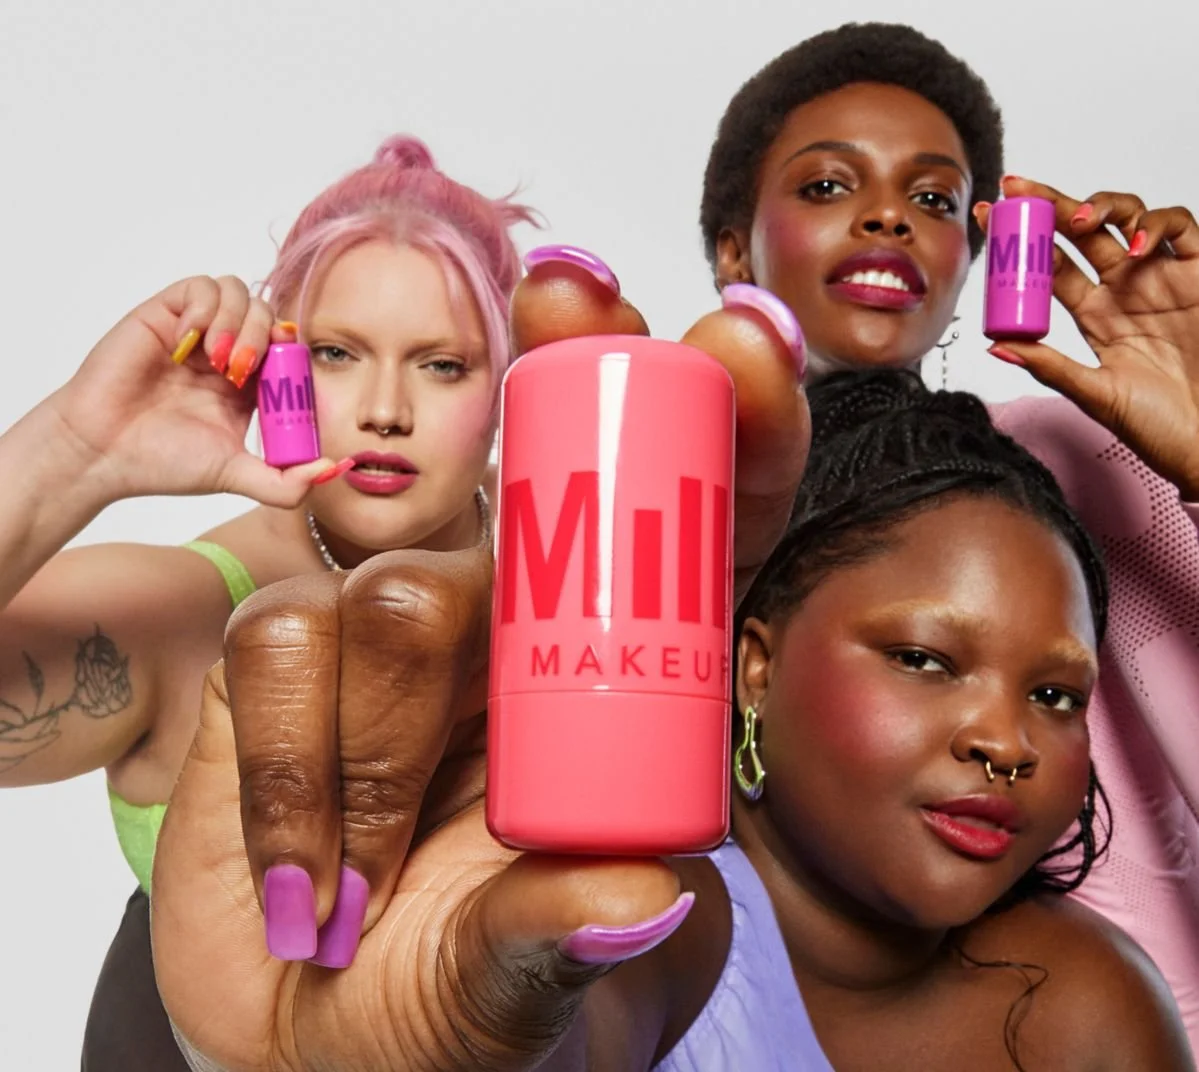
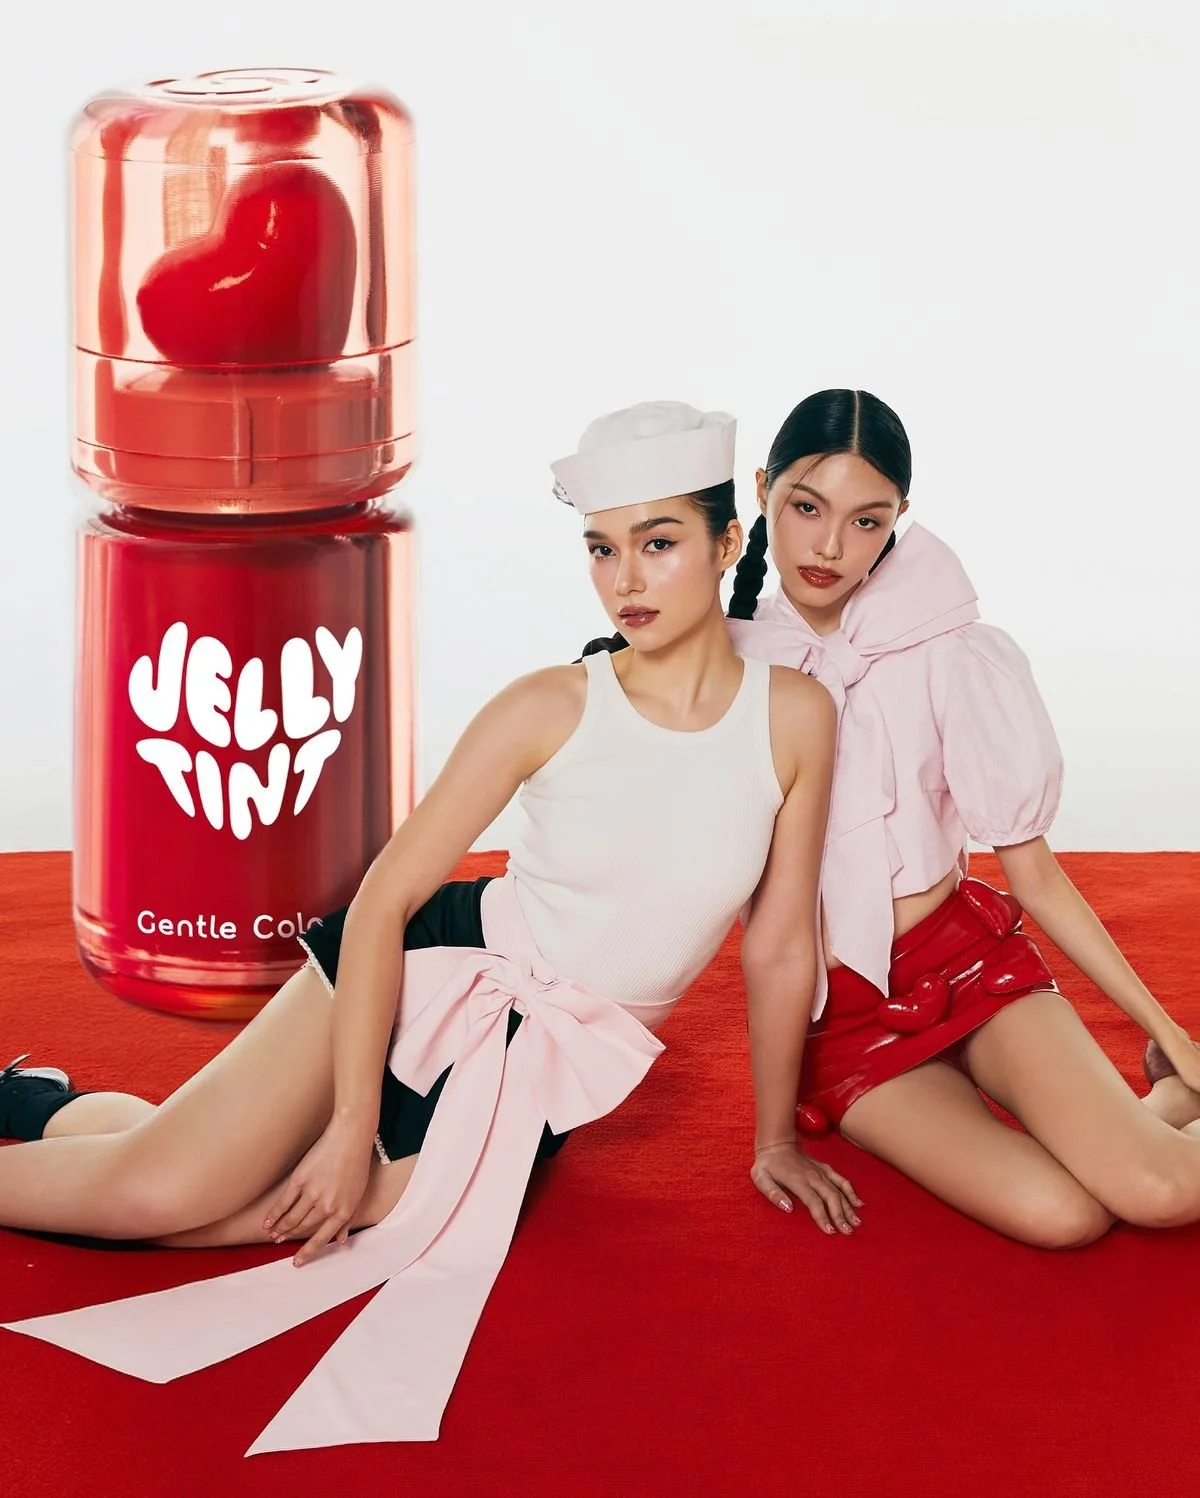
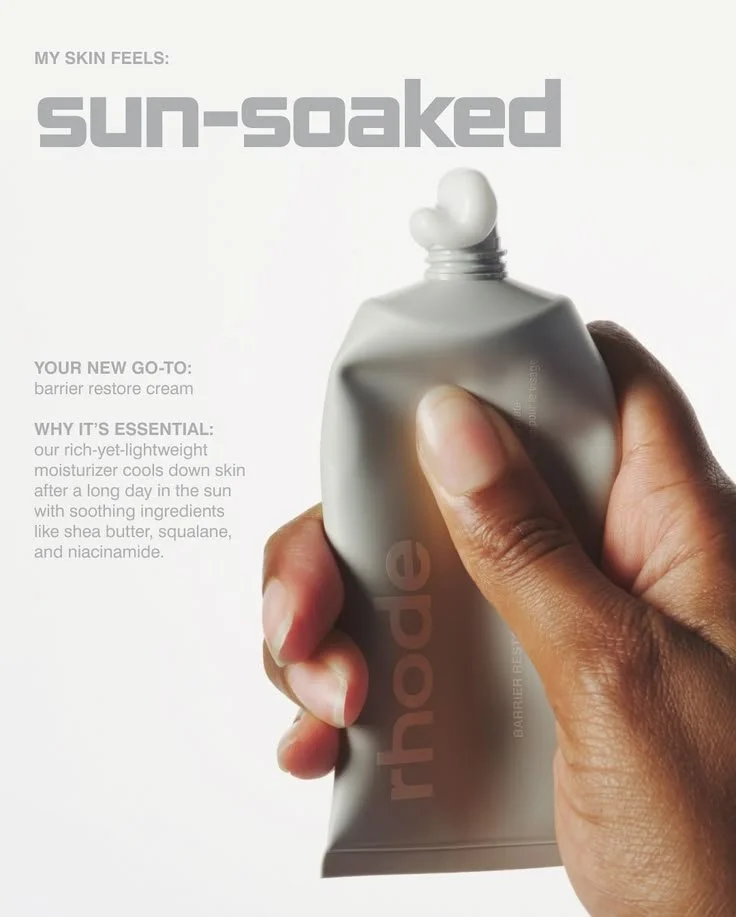
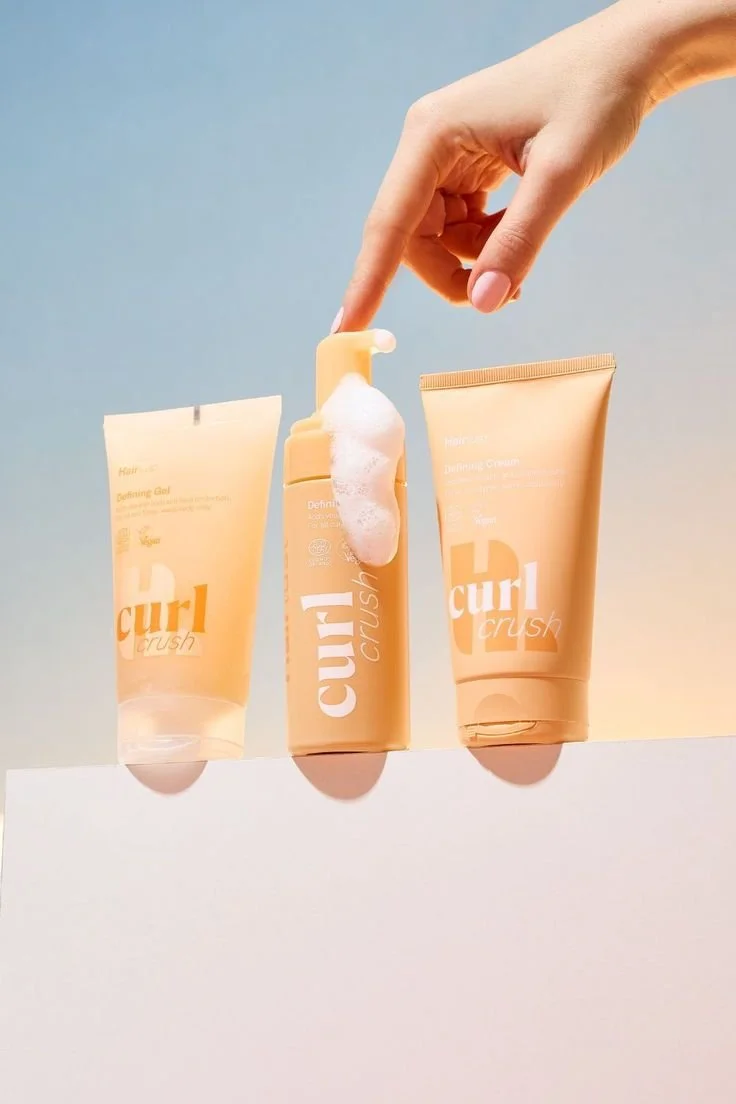
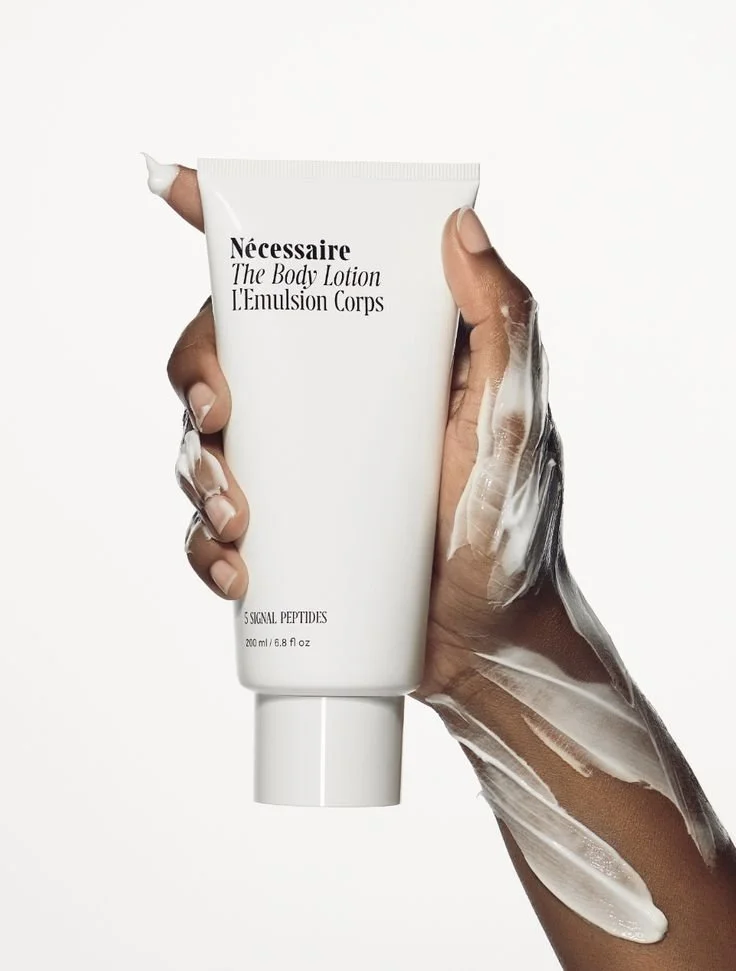
In-use shots
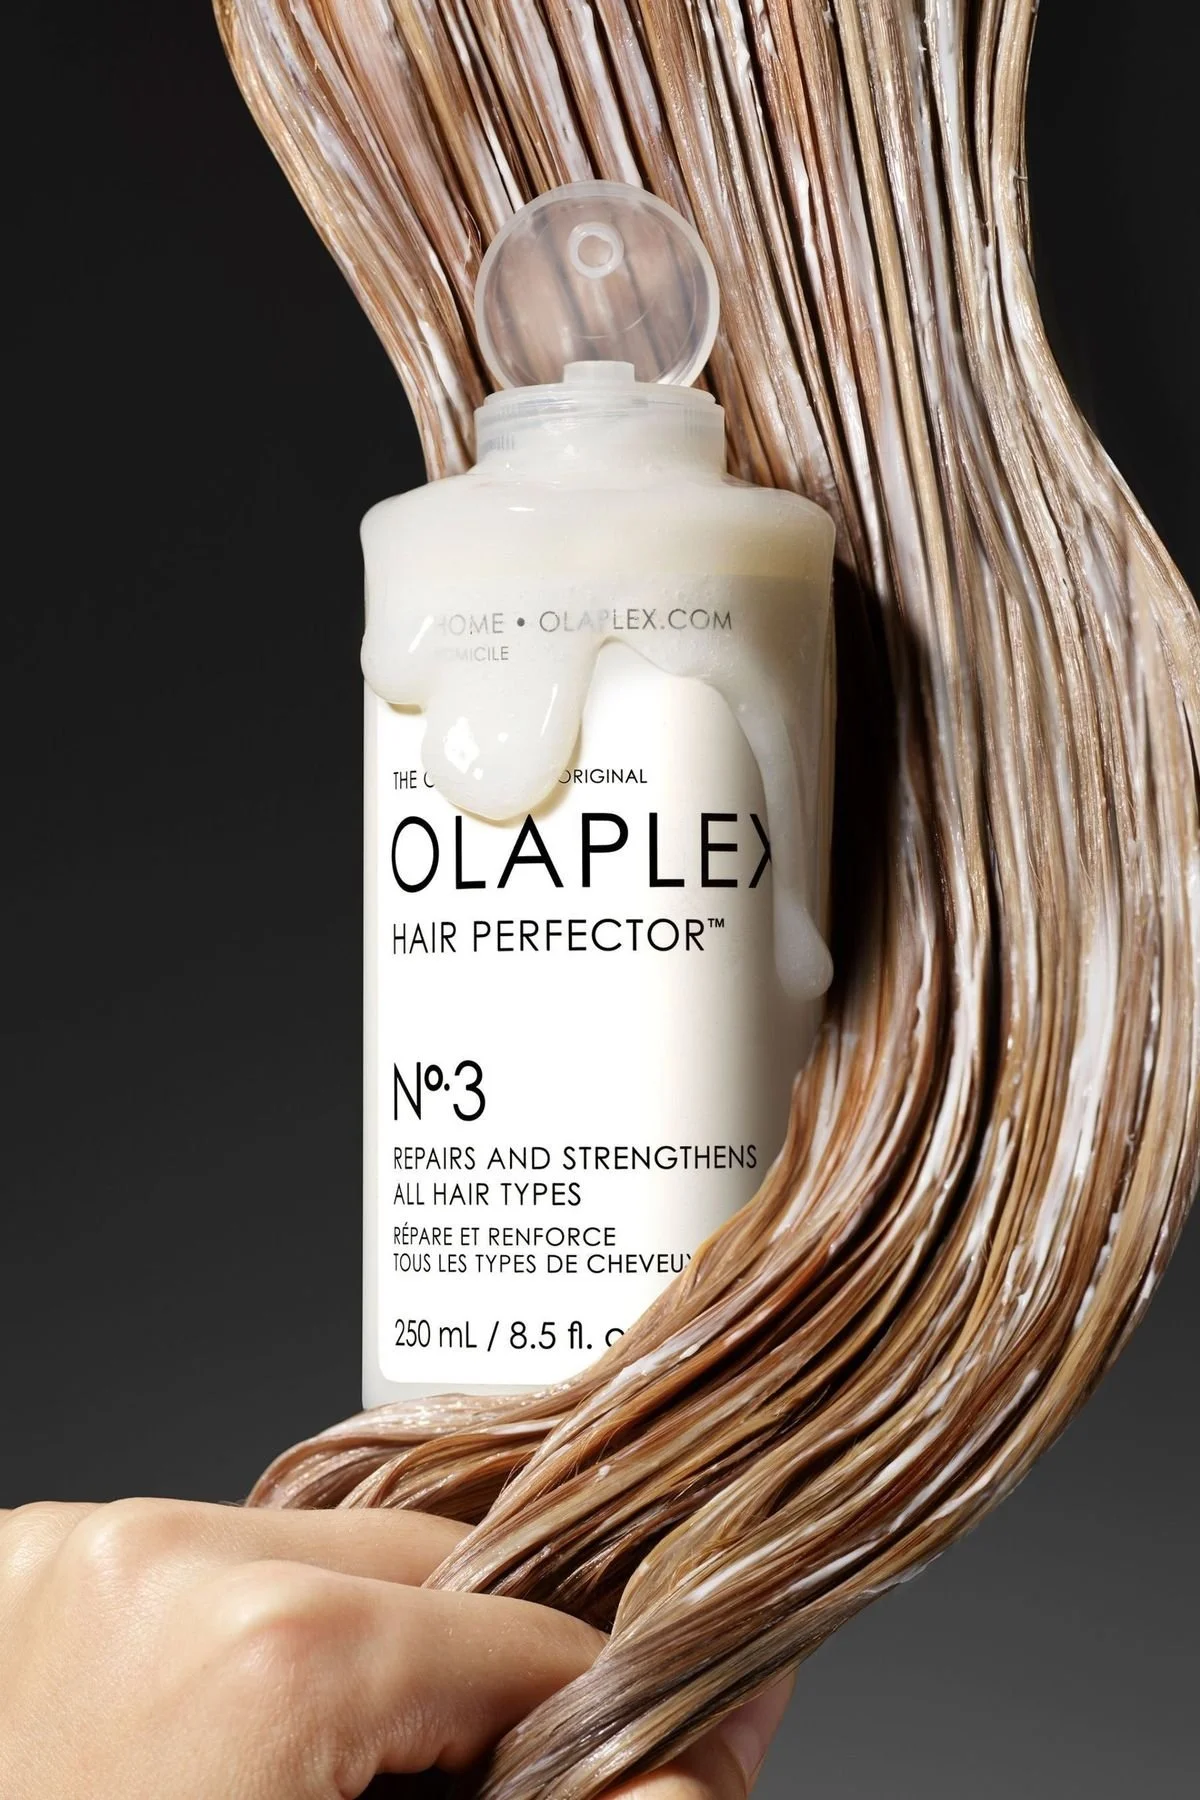

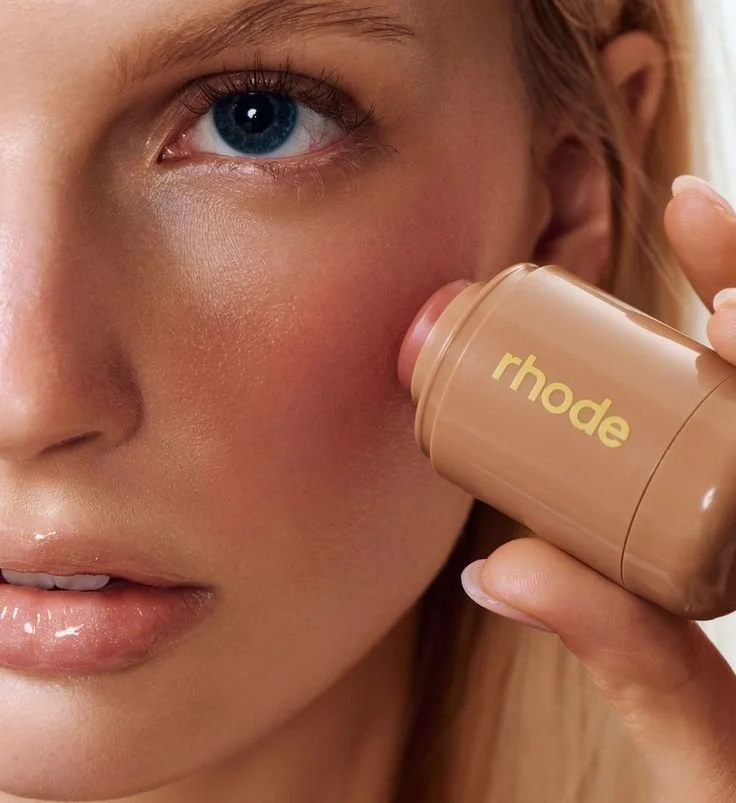

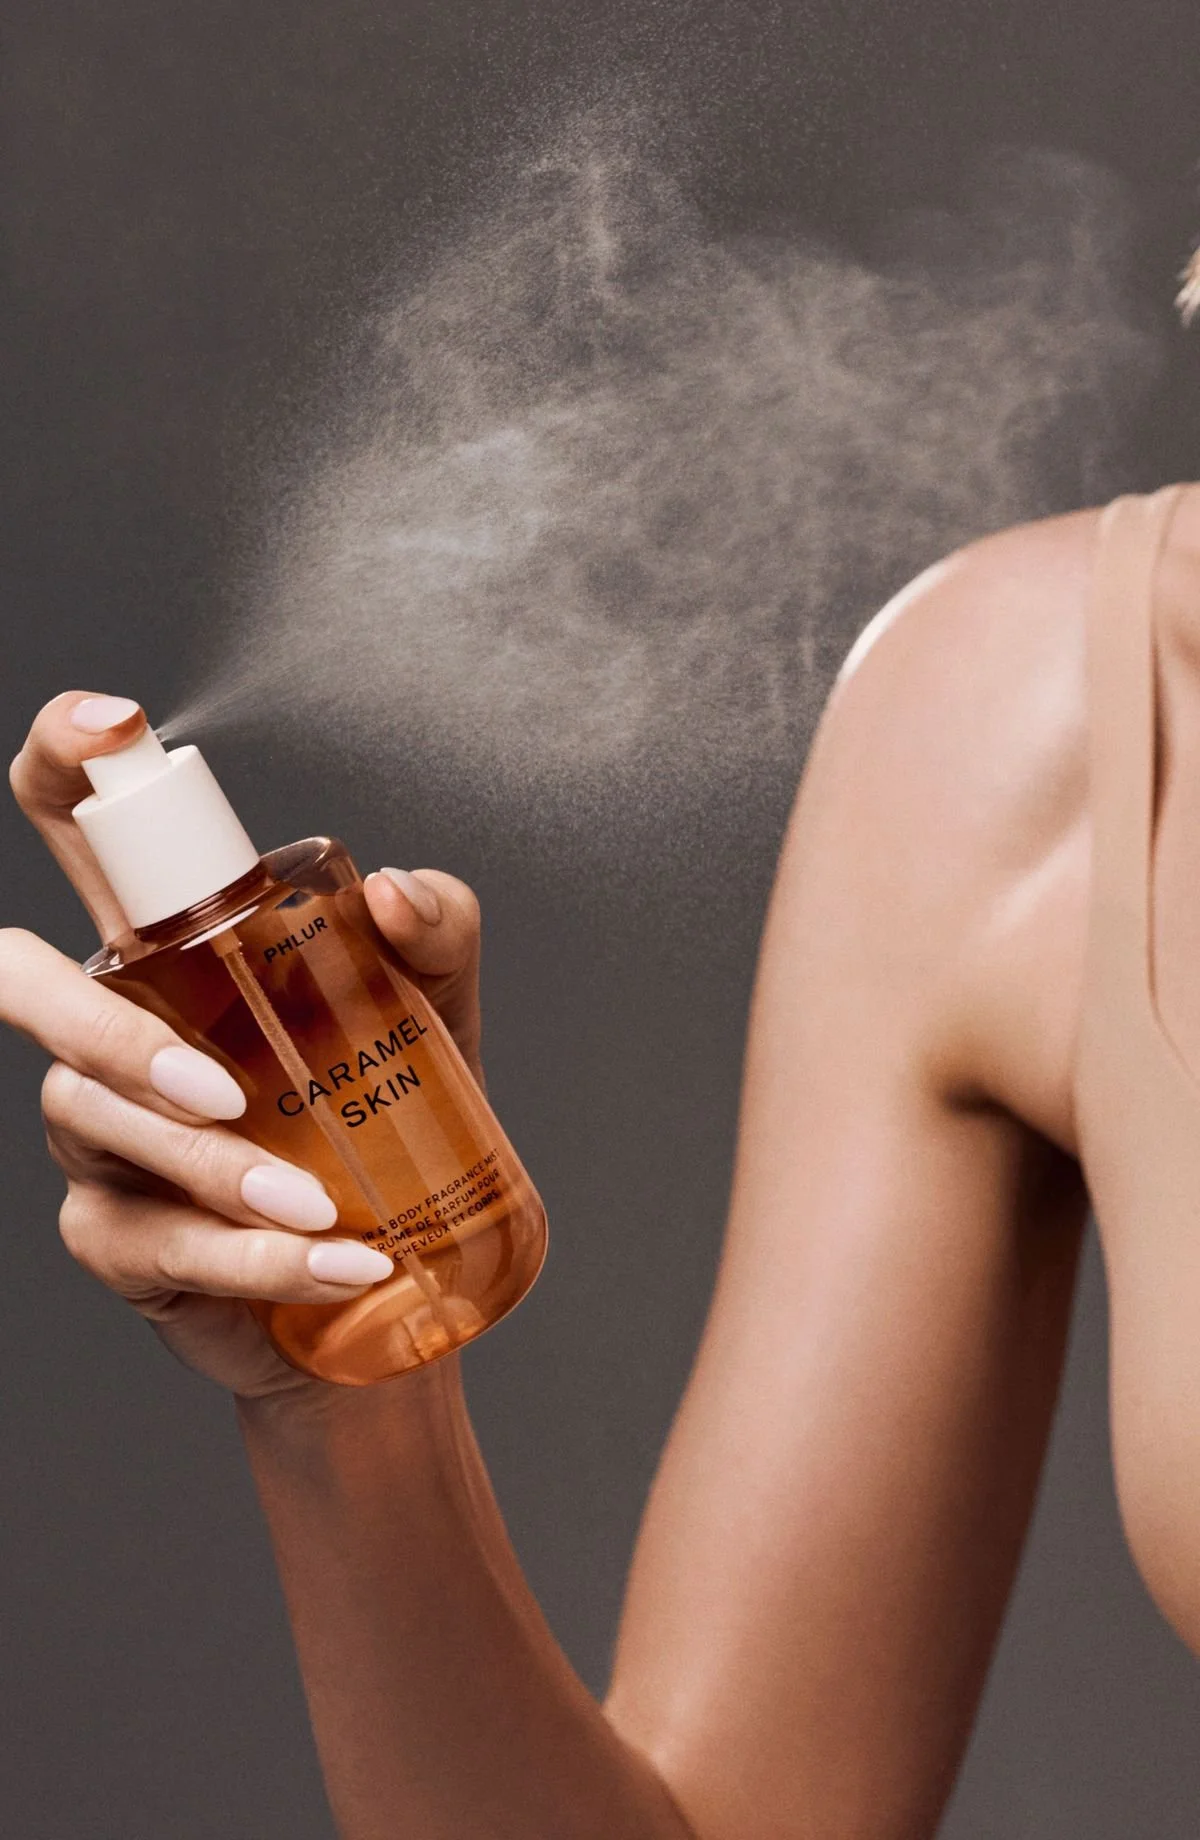


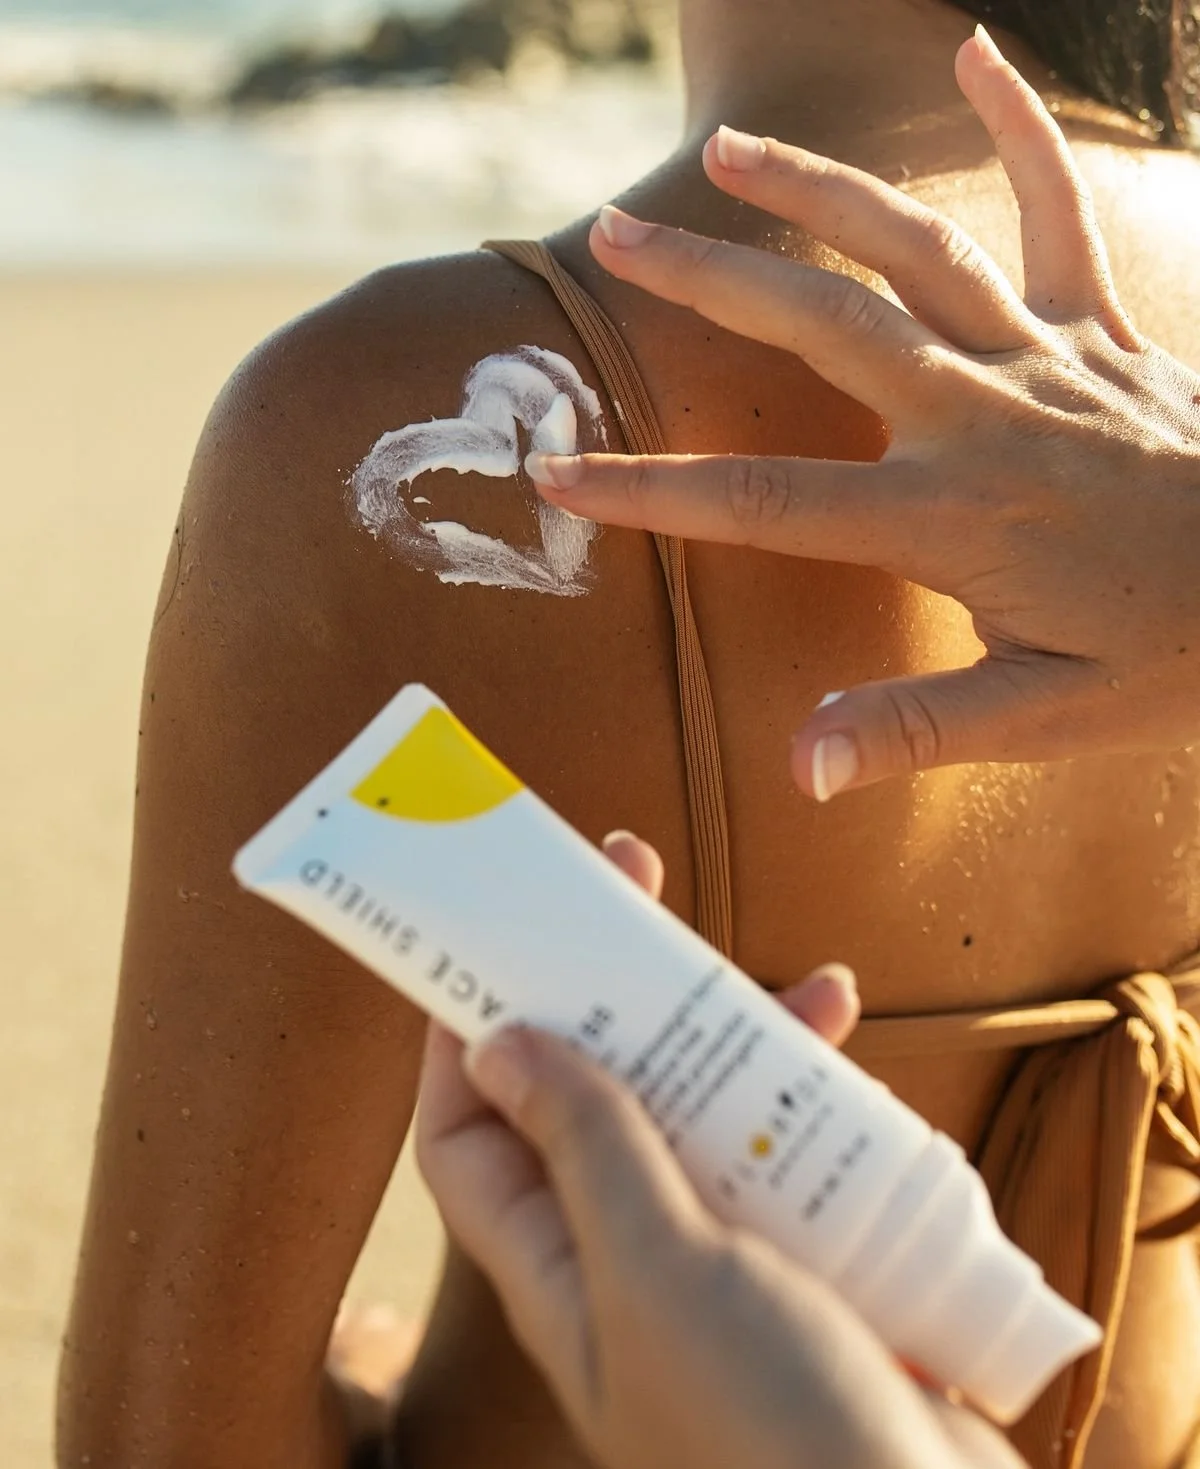


Commonly referred to as the “Lifestyle shot” or “Action Shot” these show you product in use conveying a specific lifestyle or demonstrating its functionality.
These images often feature "talent," which can be one person or a group of people. Though talent isn't always necessary. It can be a hand or a port of the body that the product is used on.
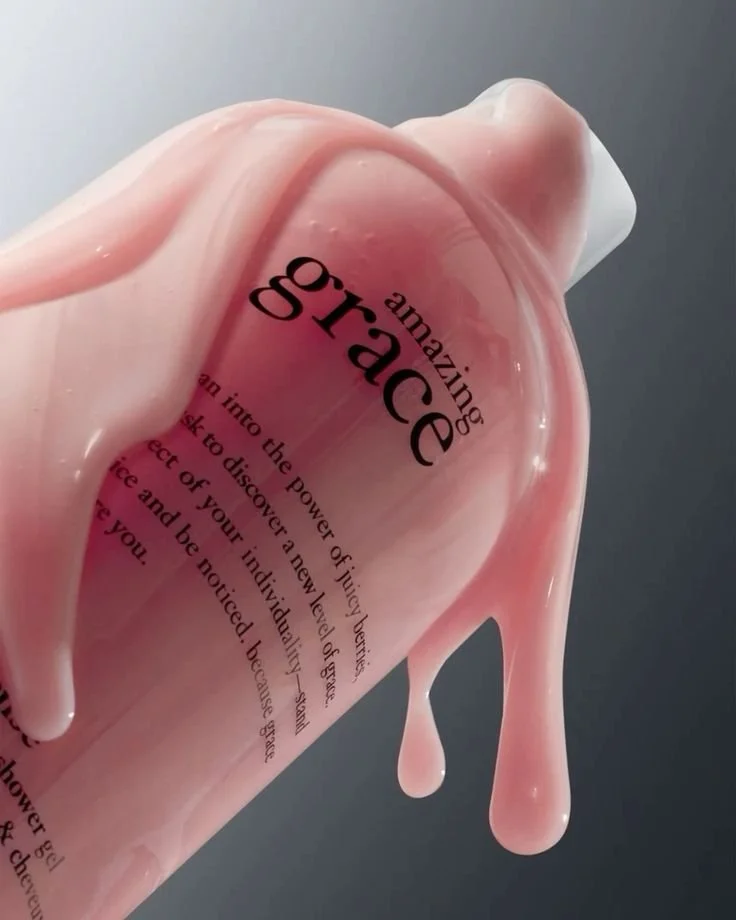
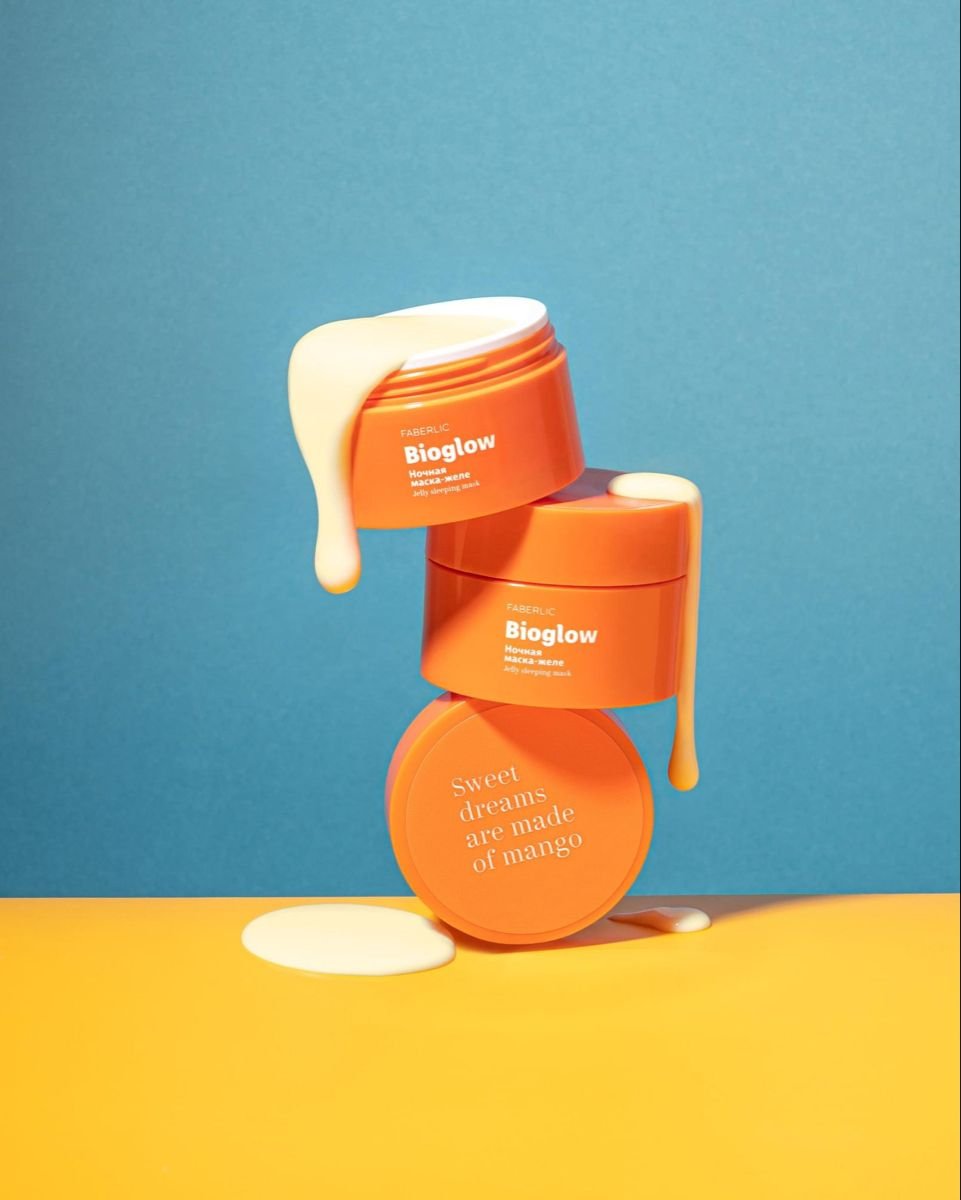
Hero shot

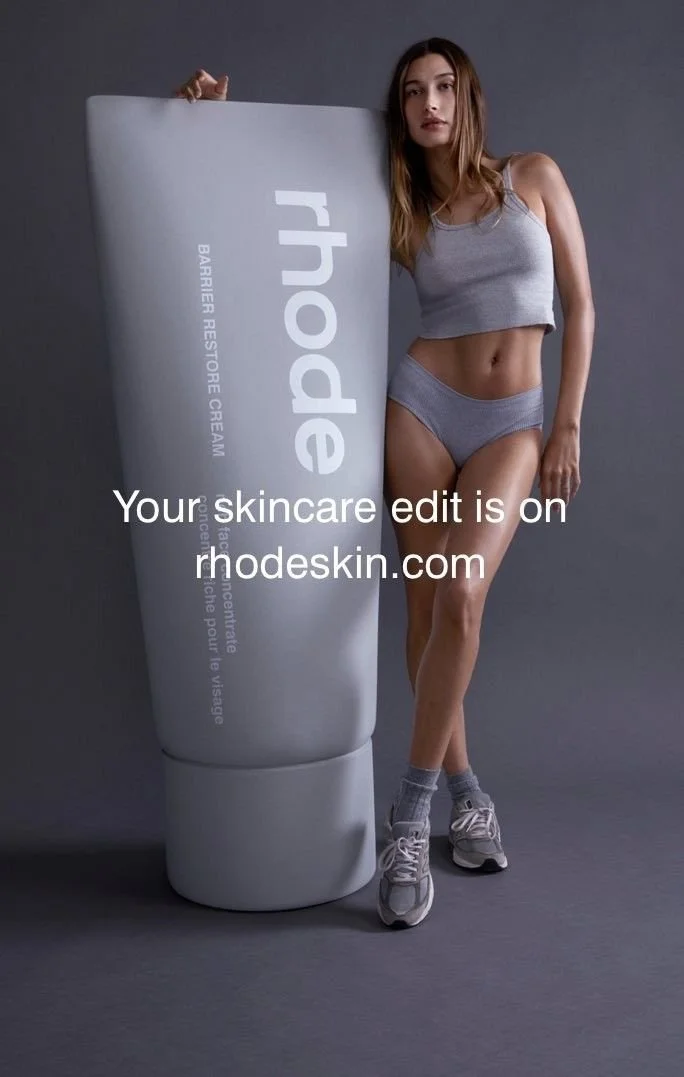
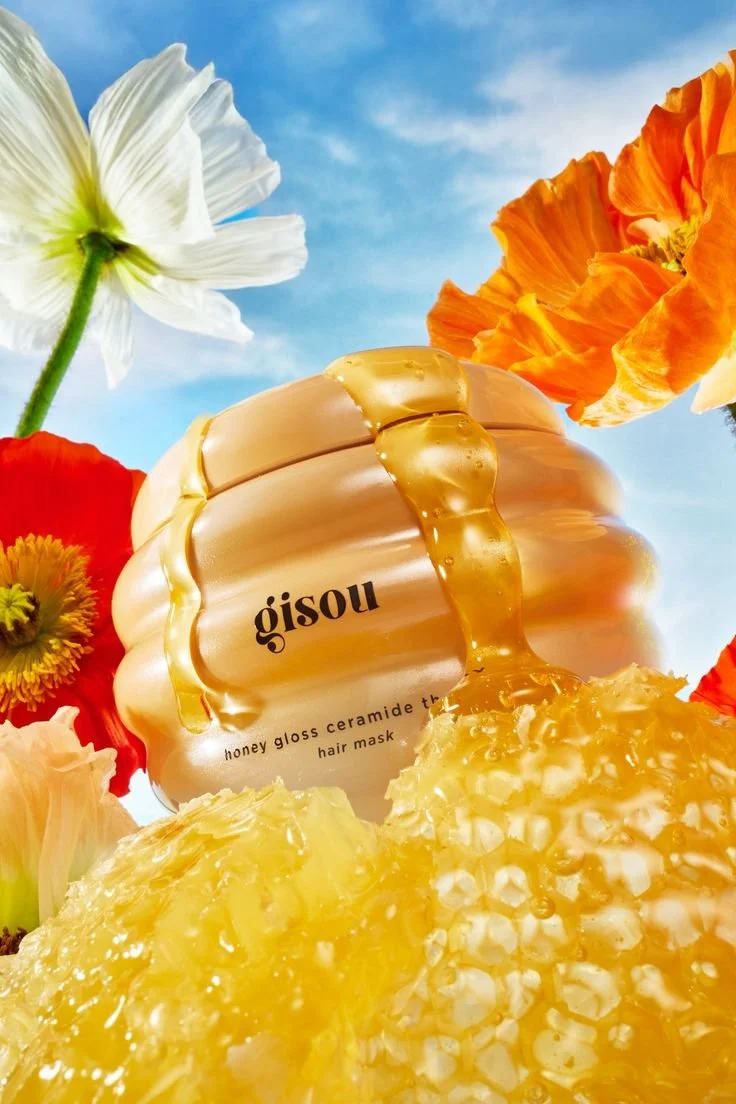


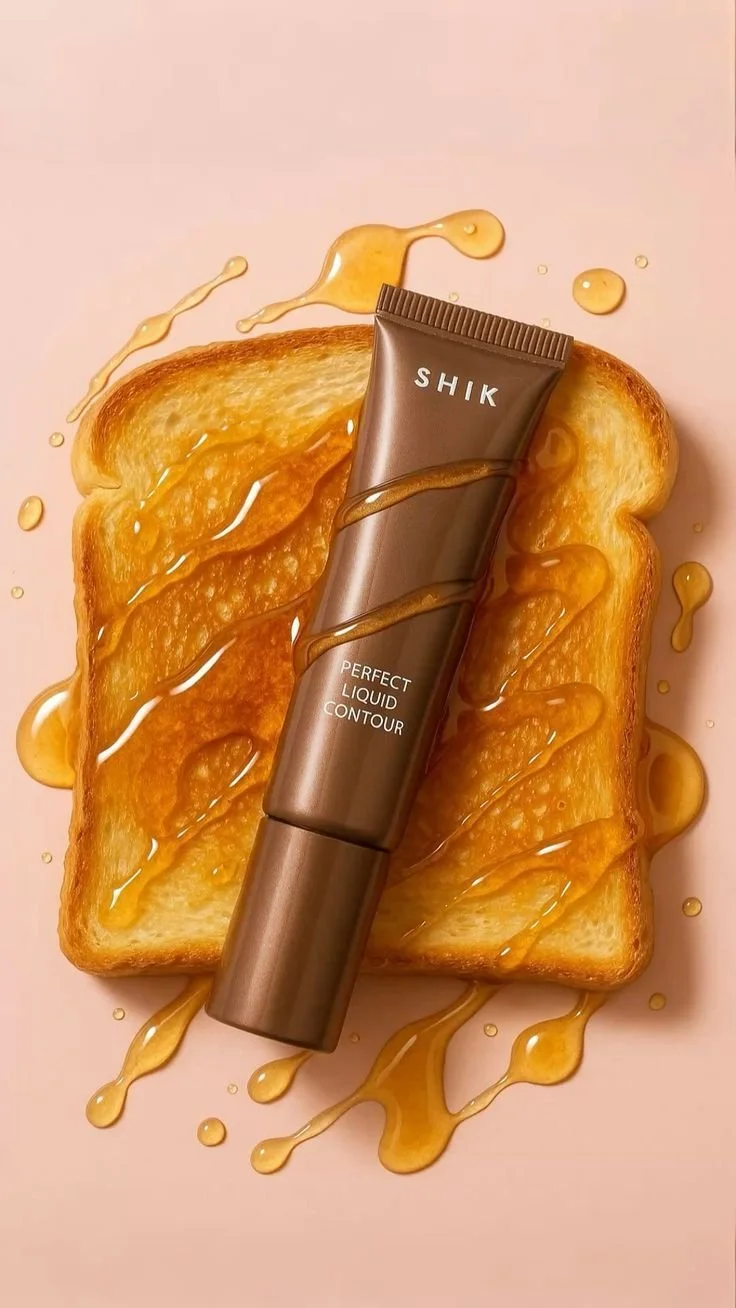
A hero shot is the center of your product line and its advertising campaign. This type of shot sparks a mix of emotions - desire, intrigue, allure. It’s that product imagery that instantly makes the viewer love it, even before they fully grasp what the thing does.
A hero shot has no specific rules. It can be an environmental shot, or even show the product in action. It just requires carefully thought out art direction to become a piece of art that stands on its own.
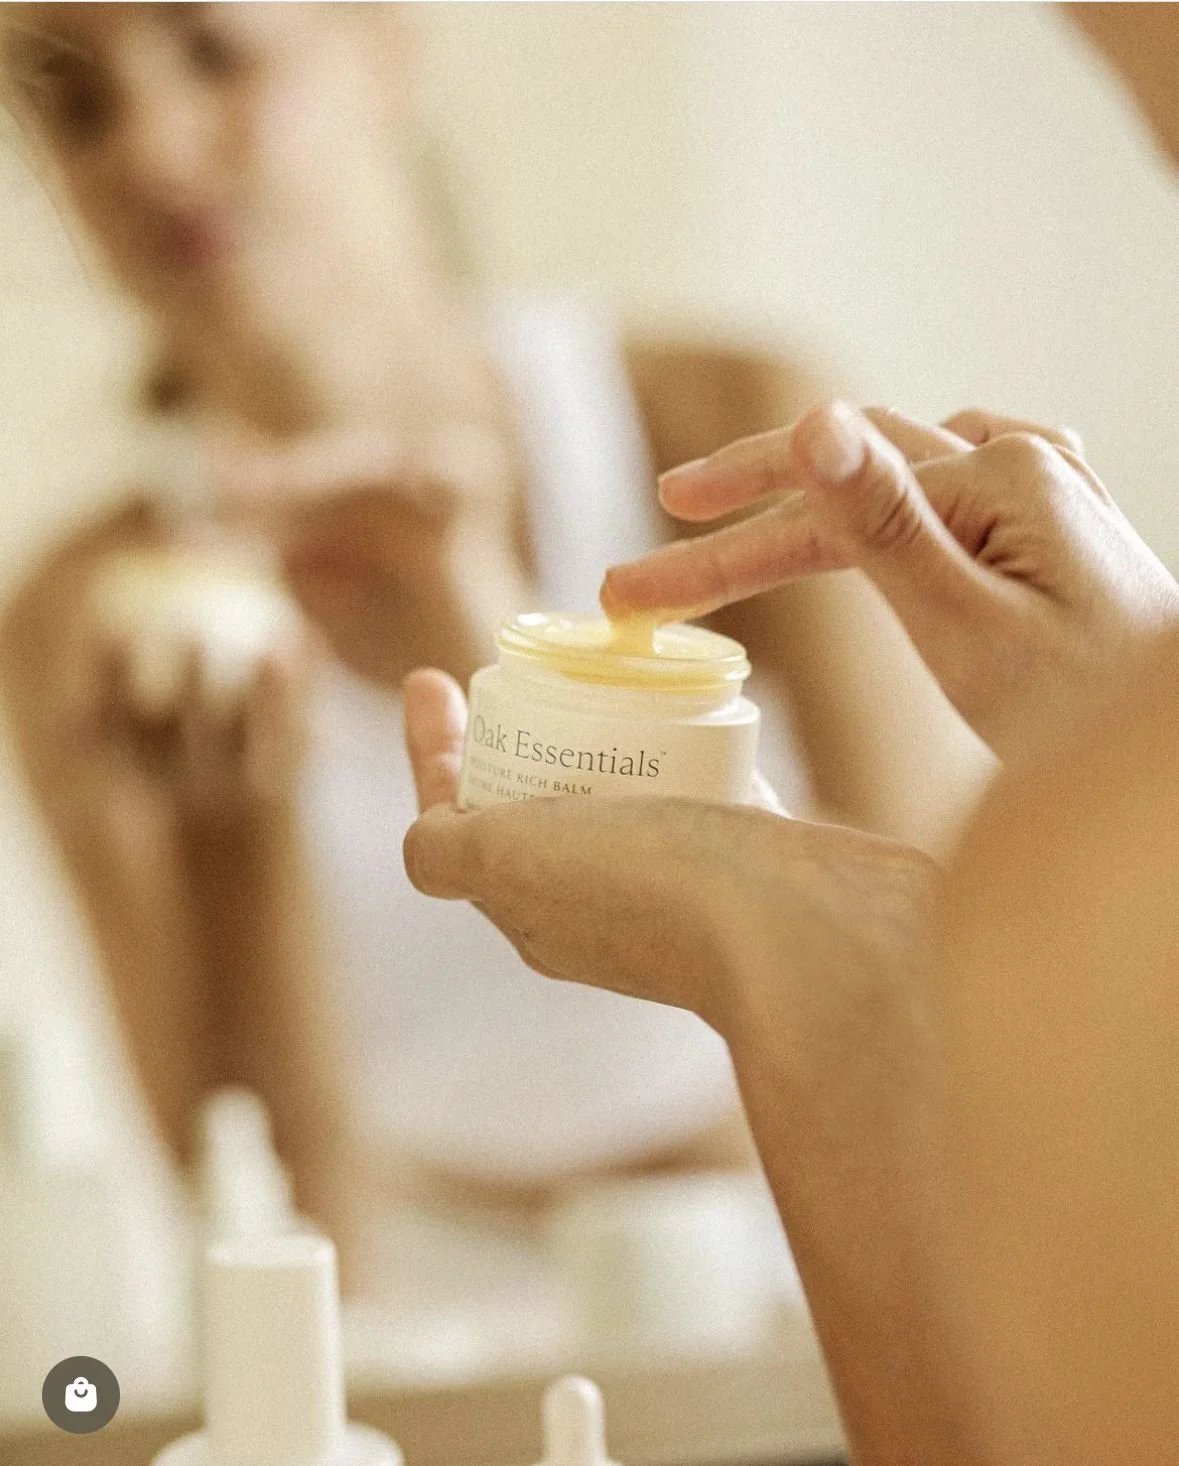
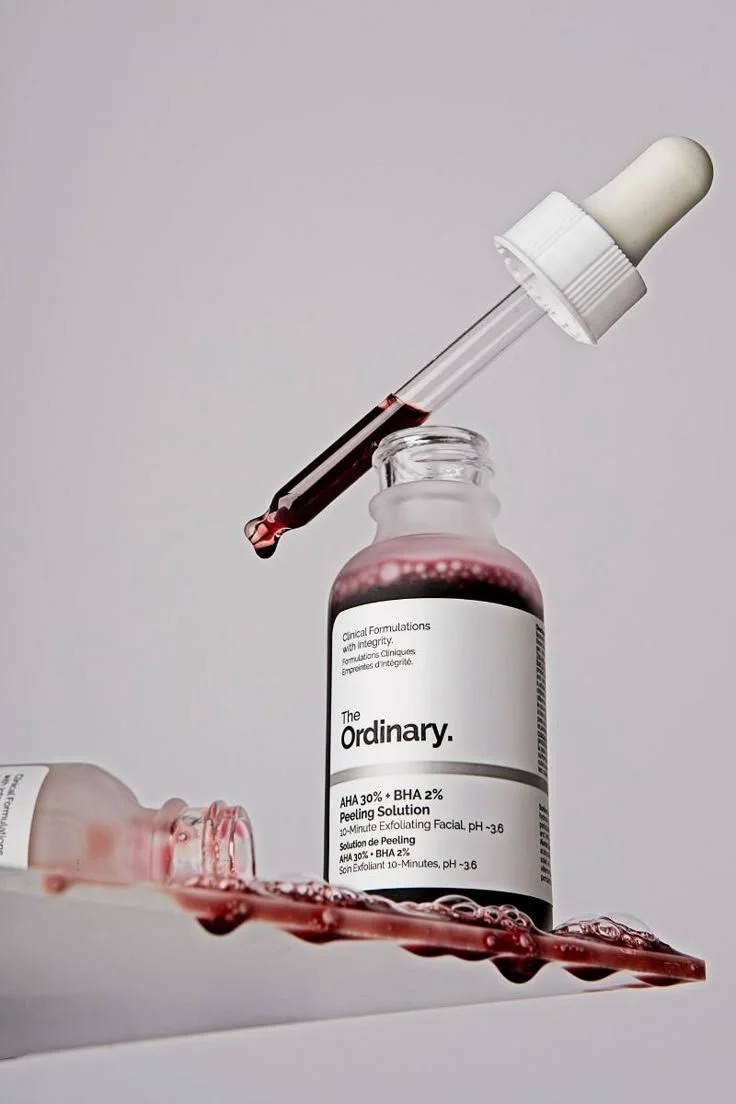
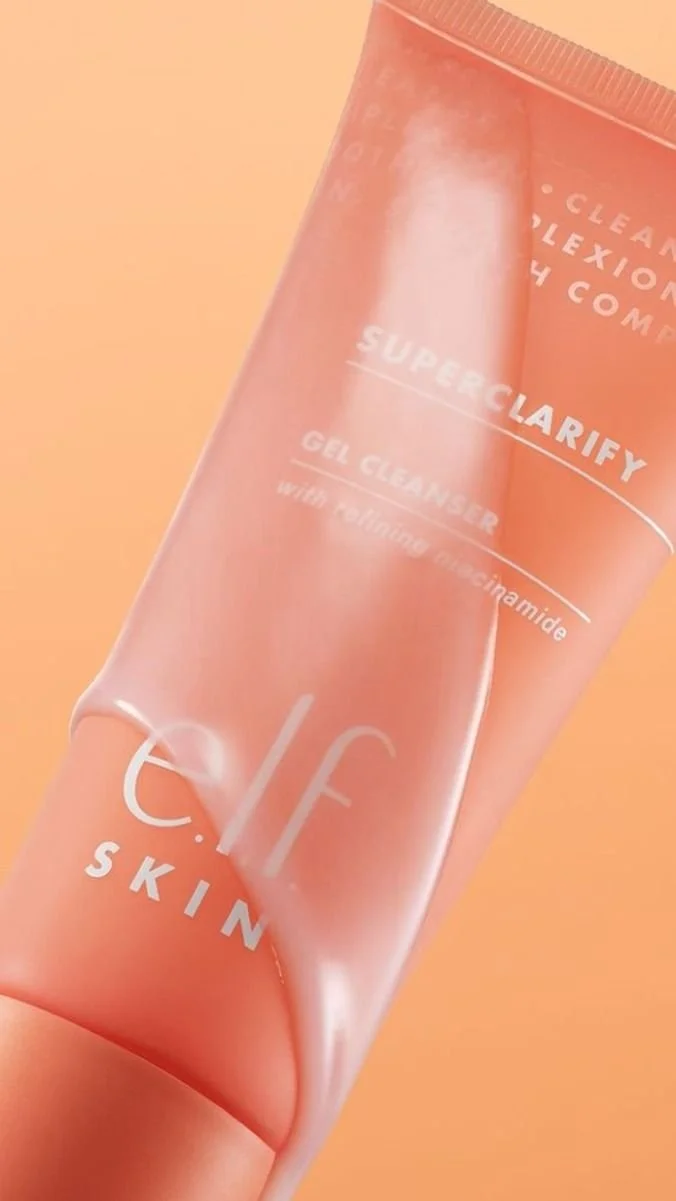
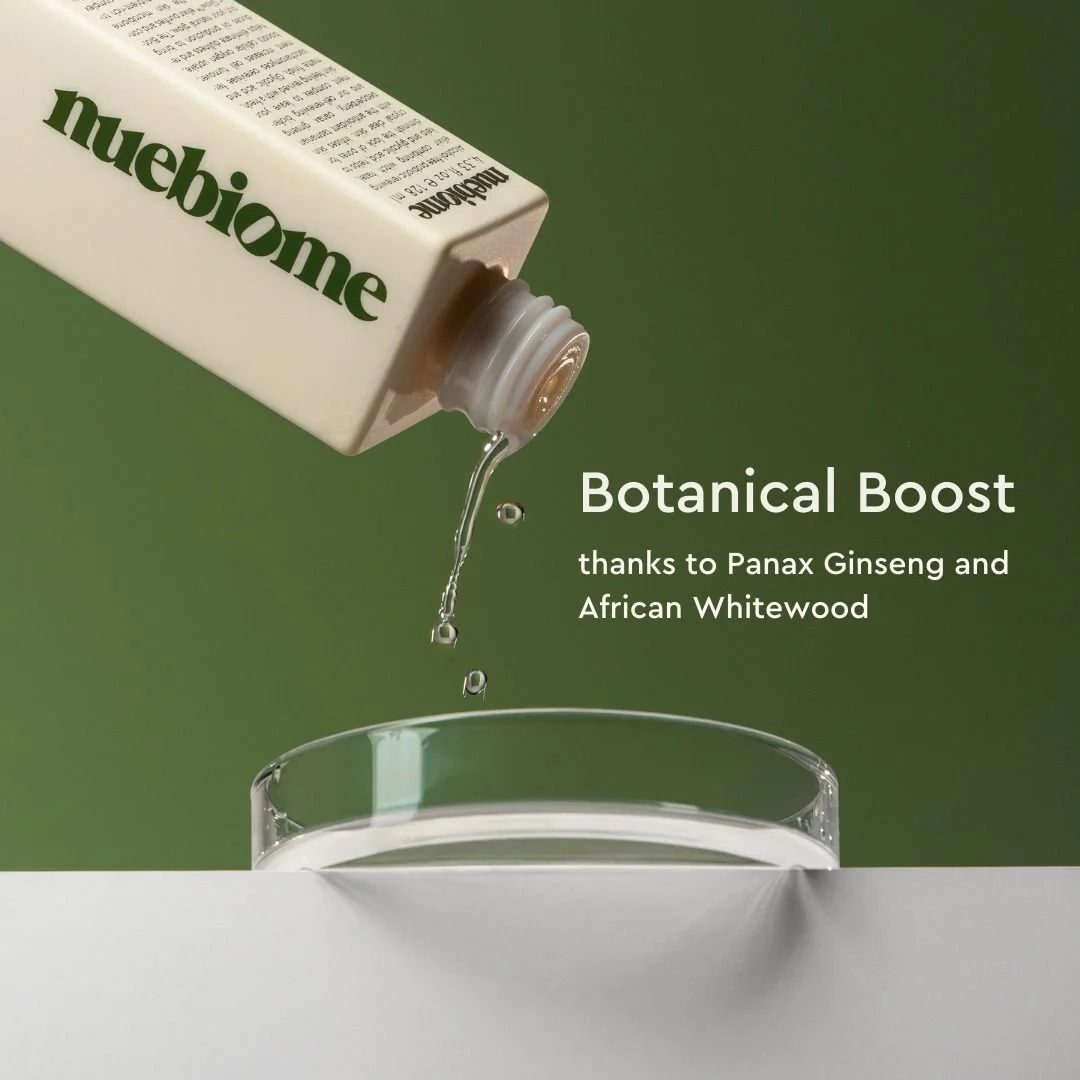
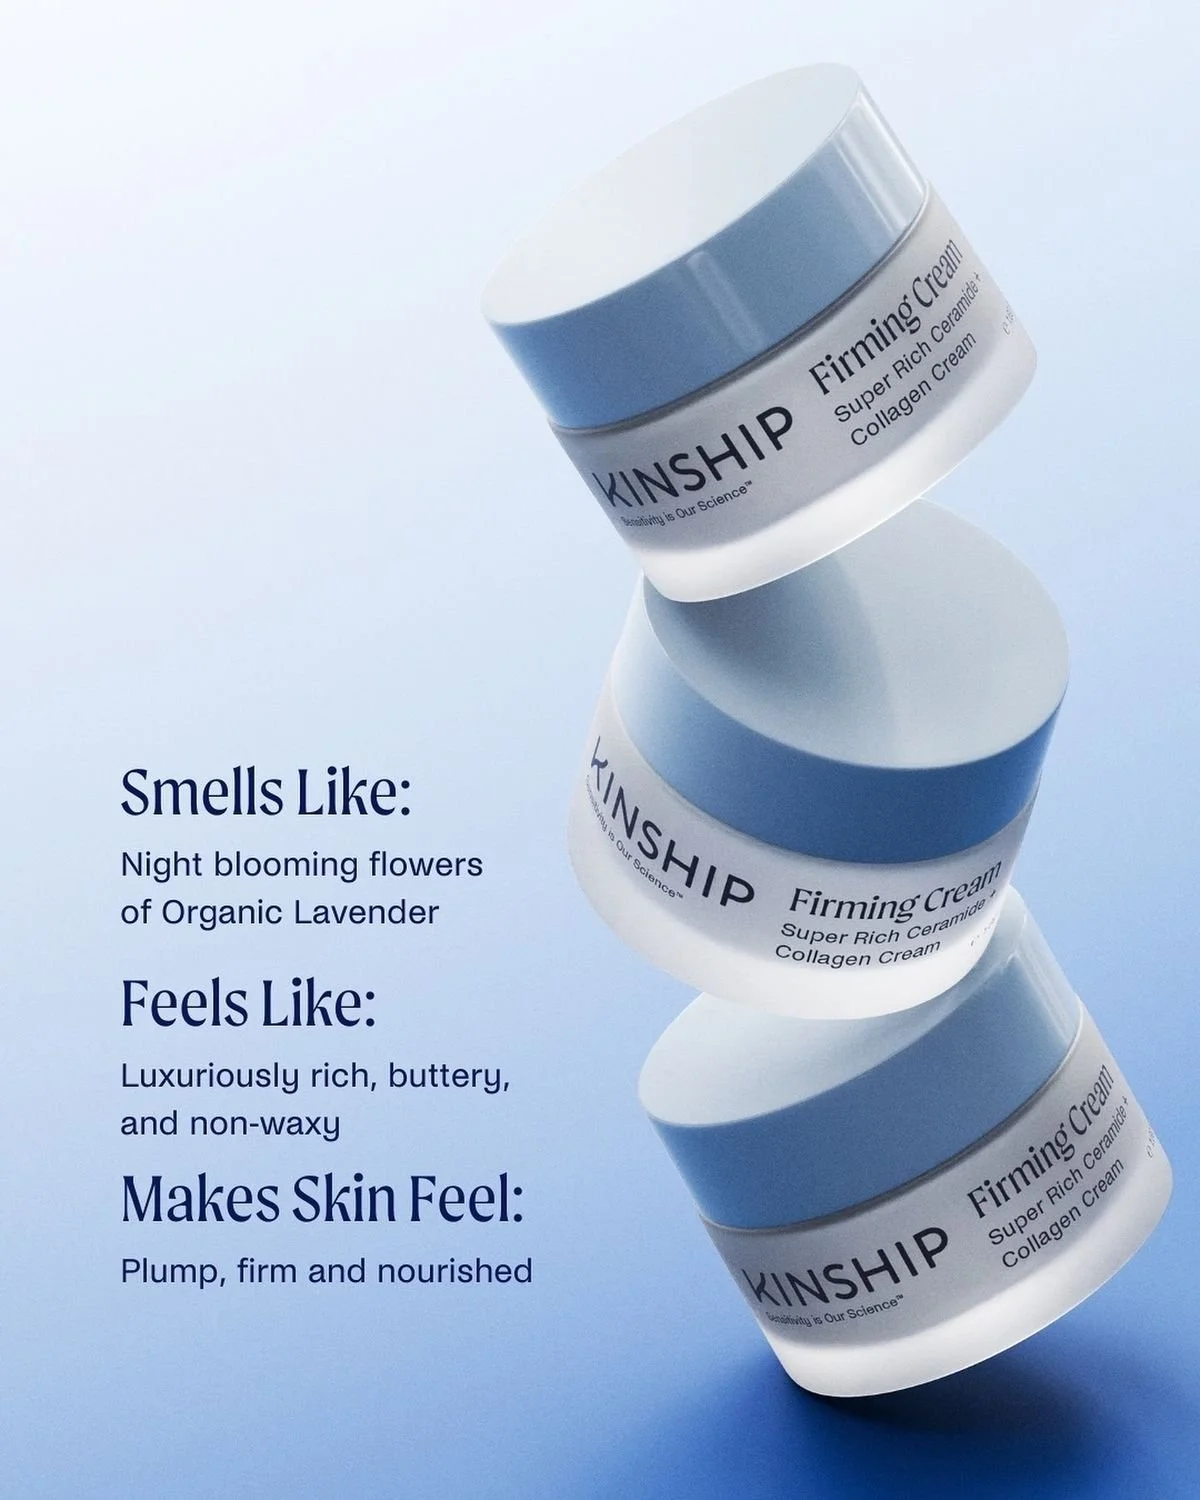
Bonus: Texture shot

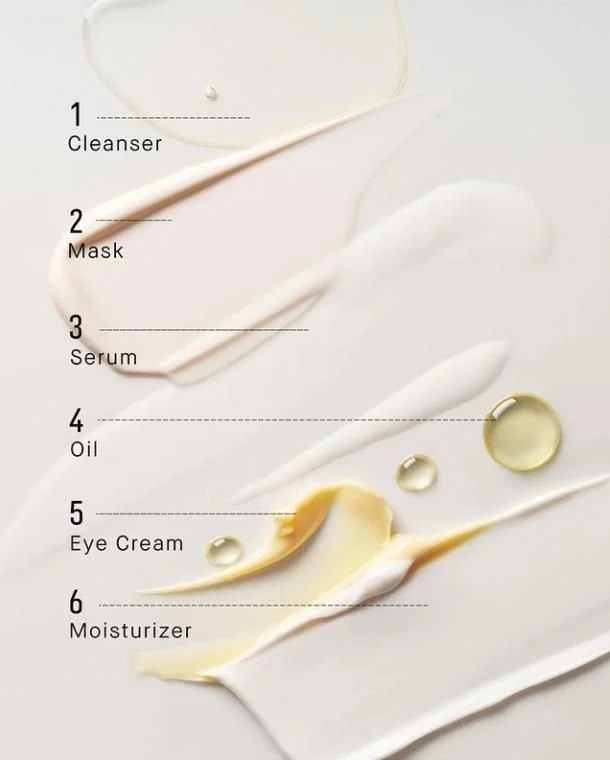


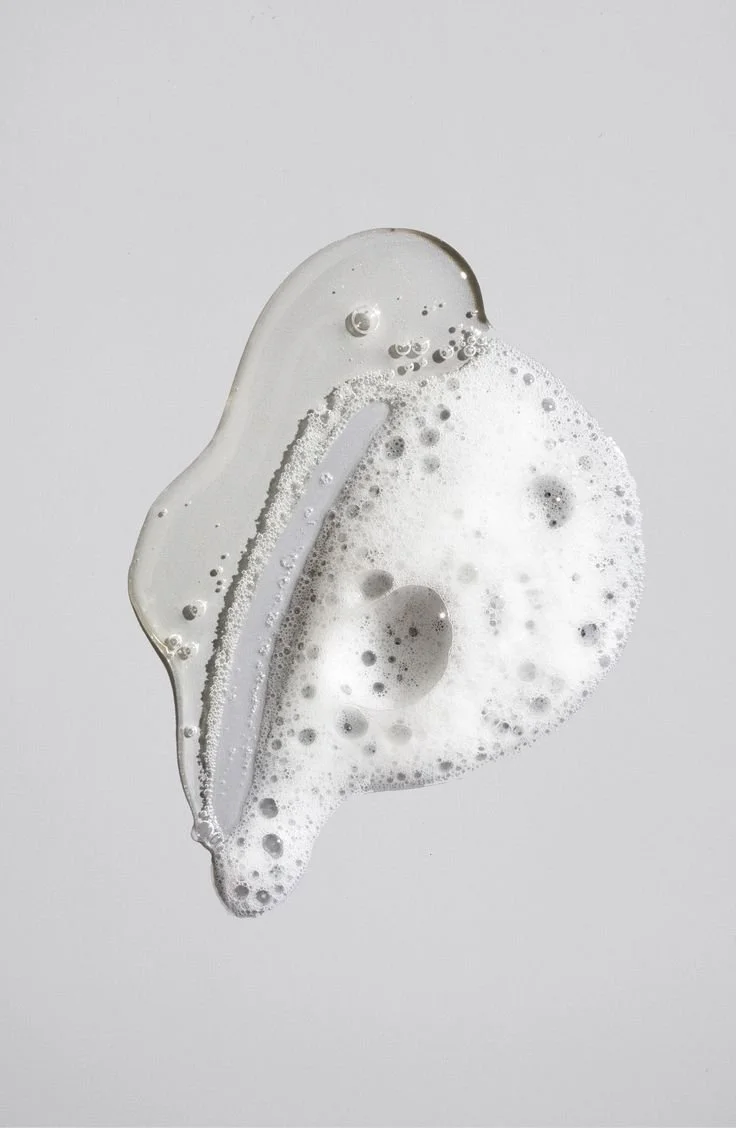
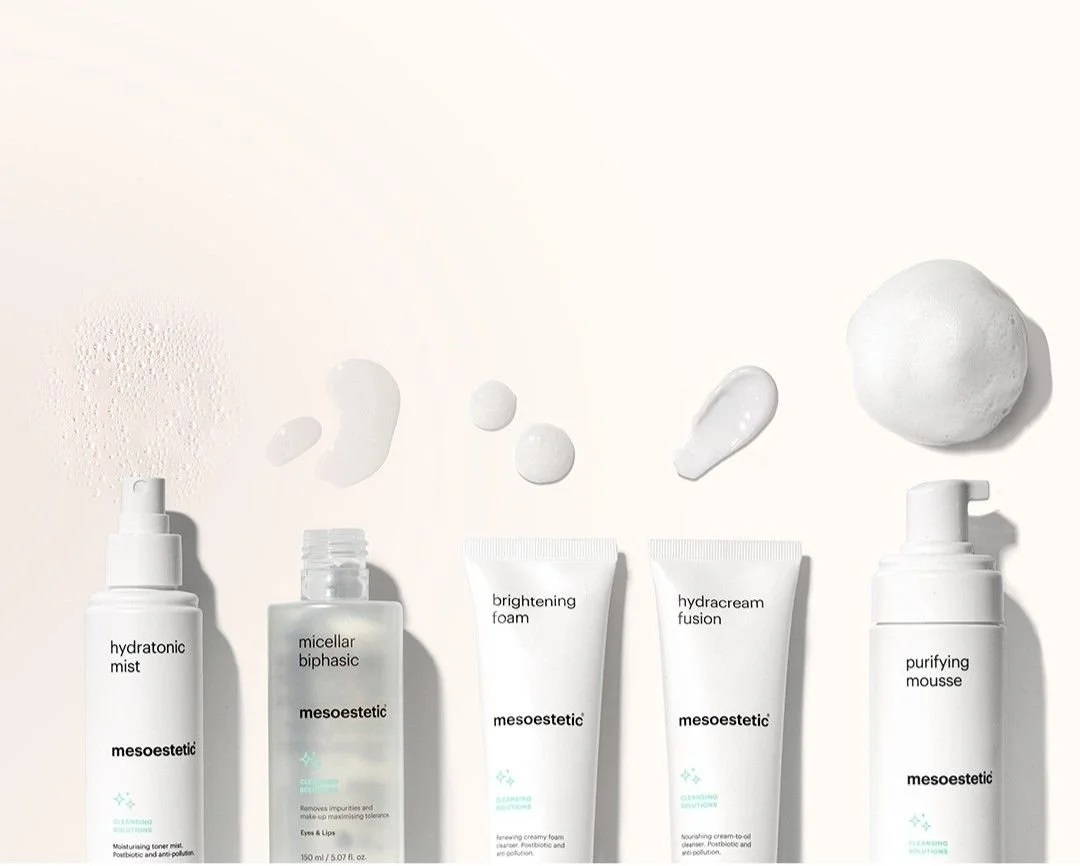


Texture shots build trust and give a sensory feel. They show off the consistency and color of your product, and might focus less on the packaging itself, but on the benefits it evokes. Use soft light with clean, neutral backgrounds to capture these shots in detail. Think swirls or droplets that show off the texture, detail, and feel.
Step 3: Prepare a Moodboard
Once your shot list is ready, search for visual references. It should include your brand's signature colors and overall vibe. Learn from styling ideas on sites like Pinterest, read social media comments and impressions on successful marketing campaigns, and research real-world product photography examples. Even AI can generate ideas that you can later bring to life with your product photography.
For ready-made design inspiration built around your product, our skincare logo design ideas guide is a useful starting point for building a visual direction before your shoot.
Step 4: Gather Props

You know what you're shooting and what look you want to go for. Now it's time to actually prepare backdrops, props, and accessories. Think about whether you’re using real-life settings or creating simulated ones (and what tools you need for that). Botanicals, blocks for elevating your products, trays, sponges, towels, etc. Even a minimal accessory can improve a lot of your ideas and make a difference in shot variety.
Tips And Tricks For Taking Photos That Sell
Shooting on a smartphone or expensive camera is not what makes a good image. Here’s how to maximize the impact of your cosmetics or skincare product photography:
Prepare Several Sets of The Same Product
This doesn't mean you need to waste all your budget on a hundred samples. But you may want to open one bottle to add natural smears or swirls – showcasing and styling the texture and detail of the actual formulation – while keeping other bottles and packaging full and untouched.
Clean Your Products
Before you even think about taking shooting your beauty product photography, make sure that your bottles and packaging are clean. Wipe down every detail to remove dust, fingerprints, or smudges.
These details show up clearly in high-res photos and can make your images look unprofessional. Use gloves to handle the products on set and wipe down and dry areas with a soft cloth to avoid smudging.
Don't Be Afraid to Get Messy


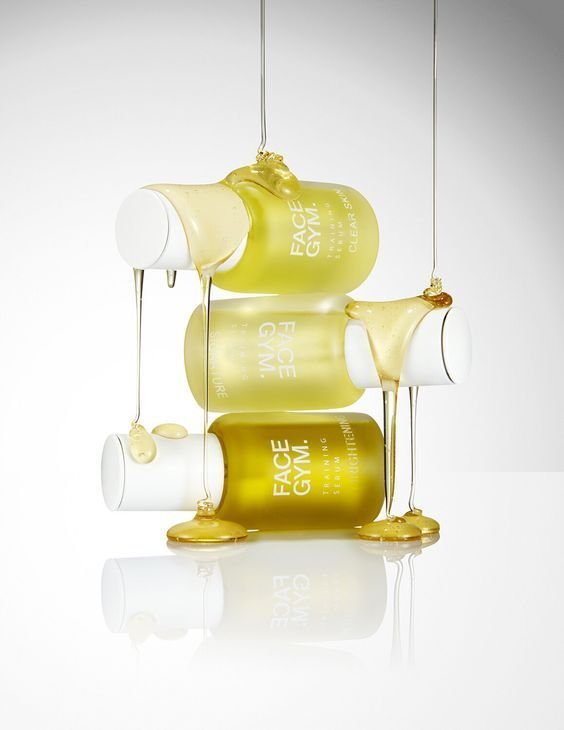


This is, of course, a choice you need to make depending on your brand, but sometimes being messy is the way to make that scroll-stopping shot. Accept the chaos with bold ideas, and your "lack of precision" can easily translate into "confidence and a natural feel" that makes the whole process feel personal.
So many cosmetic product photography examples follow the same templates – white backdrop close-up, model photo holding a bottle, or AI-generated still-life mockup. There's always a desire for something new. If you want your business taking off at quick pace, you need to stand out in the crowd.
Use Negative Space


Leave space around your product. It helps your visuals breathe and allows room for text overlays in ads or posts. Product photography that can be resized, edited, and cropped will reduce future headaches when you're creating content for marketing or launch campaigns.
Optimize for Every Platform
I can't repeat the previous point enough – plan out your shots for different content formats. Shoot and process both vertical and horizontal images so your content fits across web, email, and social. For a deeper look at how to put those images to work, our guide on social media marketing for skincare covers platform-specific strategies in detail.
Don’t Over-Edit
Small edits can enhance your photo, but too much makes the product look fake. Stick to brightening, contrast, and sharpness tweaks, and remove any dust or other imperfections that you couldn't fix on the set.
Stay away from drastically changing the lighting and backgrounds. In photography – just like in personal beauty – the small quirks that make us unique are the exact thing that people fall in love with.
Conclusion
If you're building a skincare or makeup brand, especially with private label products, your product photos are one of your most powerful tools to catch the attention of customers.
Skincare photography should immediately visualize the benefits, makeup photography should celebrate beauty naturally. Any successful beauty product photography needs to communicate quality and connect with your audience on an emotional level.
With the right setup and a bit of creative direction, you can create compelling visuals that sell. And if you're just getting started, the Selfnamed Design Studio has ready-to-use mockups that can help you build your visual identity from day one.
Browse all private label products to find the right formulas to photograph, or explore how to make your own skincare line with Selfnamed's full production and fulfillment support.
Frequently Asked Questions
-
You don't need a full studio to get started. The essentials include a camera or a modern smartphone, a tripod for stability, and lighting. Natural light is a great, low-cost option, but artificial lighting can provide more consistency.
You'll also need backdrops that fit your brand's aesthetic (like marble, tiles, or stone) and a reflector to soften shadows.
-
There are four main types of shots:
Pack shots are simple, clean photos of your product on a neutral background, perfect for e-commerce.
Environmental shots place your product in a real-life or abstract setting to create a specific vibe.
In-use shots (or lifestyle shots) show the product being used to demonstrate its function or a specific lifestyle.
Hero shots are high-impact, artistic photos designed to capture attention and desire, often used in ad campaigns.
-
Preparation is key to a successful photoshoot. Start by choosing the products you'll feature. Then, create a shot list outlining the specific angles and setups you want to capture. Use a moodboard to gather visual inspiration and define your brand's aesthetic. Finally, gather all your props and backdrops to ensure you have everything you need on the day of the shoot.
-
For private label brands, product photography is one of the most powerful tools for differentiation. Since multiple businesses may sell similar base formulations, your unique visual identity is what sets you apart. A high-quality, professional makeup or skincare product photo communicates your brand's aesthetic, builds credibility with customers, and ultimately helps increase conversion rates by making your products look unique and desirable.
Must read